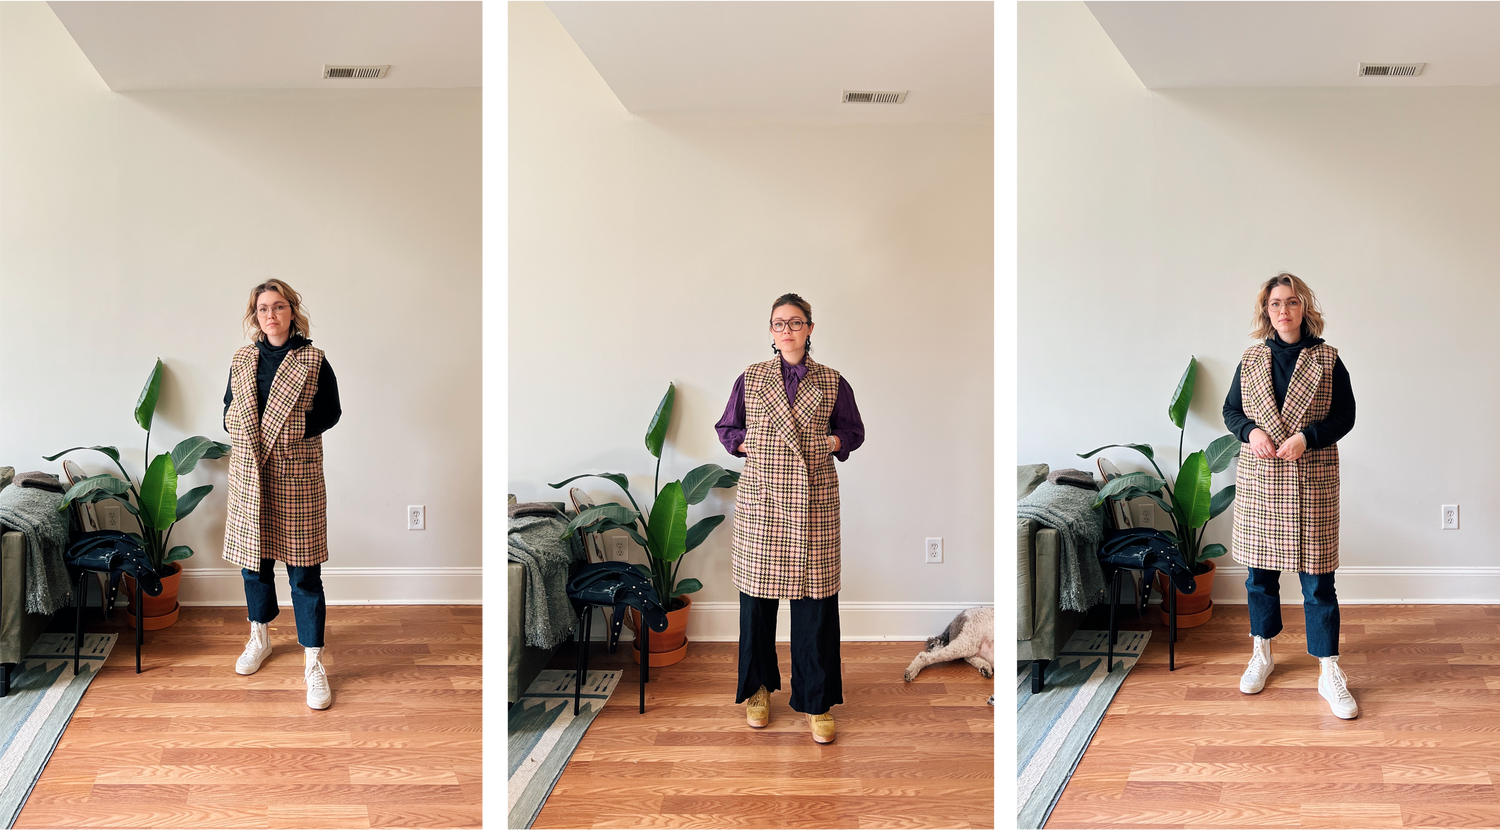
This is a new guest post by the amazing Siri from the Instagram @siri_kate, she is an extremely talented sewist, knitter, artist and more! In this blog post Siri shares how to hack the Heather Blazer sewing pattern, to create a beautiful Long Double Breasted Vest. Continue reading to find out how.
Introduction:
You probably know me from my Instagram @siri_kate. I love colder weather and layers. You know my professed loved for sweater vests. So it was no surprise that another version of a vest has been living rent free in my brain. There have been a ton of long wool vests floating around. One of my favorite versions was long and double breasted.

*above images sources from Pinterest
I knew exactly where to start. I have hacked the Heather Blazer before into a linen vest. If you scroll down on my Instagram feed, you will find that I regularly wear the hack. I wanted to do a cold weather version. There are lots of lovely hacks to turn the Heather blazer into a long vest or a long coat. SO this is how you hack to turn the Heather Blazer into a long double breasted vest.
Brief overview:
1. Add length to the pattern pieces, A, B, C, H and I.
2. Add width to Front (A) and Front Facing (C)
3. Figure out the type of pockets that you want. I added 4 single welt pockets, 2 hand warming pockets and then 2 around the area that the placement is on the original pattern piece
Let’s talk:
Fabric – This is a wool deadstock that has a little bit of an open weave and a silk lining. I would love to make it with denim or a heavy weight linen.
interfacing - I chose to interface all pieces of the main fabric The fabric is more of an open weave and you can see in the inspiration pictures that the vests have more structure.
Now, let’s get into the nitty gritty. All the modifications that I am going to list are specific for my own hack and are suggestions to make your own version.

a. Front piece modifications – add 4 3/8” to the front part of the pattern piece. I added a dart as you can see above. The dart is 2 ½” wide at the top and 7 ½” long. This dart gives a little shaping and allowing the extra overlap.

b. You modify the front facing by adding the same length and but not the dart. I used the front piece to redraw the front facing as seen above. I matched the extend length at the bottom and then when you draw the front facing for it to match the front piece it curves in. Below is an example of what the finished garment looks like.

c. I added 4 single welt pockets. I wanted them chunky so they ~3” x 7” when finished. I used the pocket markings to determine where I wanted lower side pockets. Then I put the hand warming pockets 2 ½” in from the outside seam around where I marked where it would be comfortable for me to place my hands. As you can see below.

For construction, I generally followed the instructions from Friday Pattern Company. I am going to focus on where I deviated from them.
1. You apply the welt pockets at the same place in the instructions where you attached the pockets.
2. You construct the outer layer and the lining. Now you have two “vests”
3. Attach the collar per instruction.
4. Then at the same time you sew down the front of the vest right sides together (rst) you sew together the armcye rst. Trim SA per instructions
5. Next I sew the hems of the back piece and then front sections as the instructions.

6. We will sew together the side by sandwiching the front side in the same side of the back section. Sew using the suggested SA. Repeat on the other side and then bag out through the hole in the lining. When turned right side out, it will look like the further right picture above.
7. Then add buttons! I haven’t sewn in my buttons and button holes yet. I am a little nervous to use my machine on my nice fabric.


Leave a comment
This site is protected by hCaptcha and the hCaptcha Privacy Policy and Terms of Service apply.