
Welcome back to the Friday blog, in this post we are showing you how to create a sleeveless Heather Blazer vest, omitting the collar and sleeves to create a stream-lined, minimalist style vest. You could make it long like this one, or crop it at the waist also to suit the blazer vest trend right now! Continue reading to find out more.
Pattern Amends:

Pattern Pieces to amend: Front A, Facing C, Back B, Lining H, Lining I
- On front A, use a ruler to mark a line from the inner neckline curve, down the front to the notch at the centre front. This amend will remove part of the collar, and also grade in further to create the 'V' shape of the vest neckline.
- Also on front A, remove some of the outer shoulder seam on the arm hole. Do this by grading from the front arm hole notch, I removed about 2 inches.
- Repeat the process on Facing C, removing the front corner from the inner shoulder to the front notch.
- On back b, remove the same amount on the shoulder as you did on front A.

- Repeat the process on the lining pieces H and I on the shoulders, match up to the outer pieces to make sure they're all the same.
- Prep all your pieces as per the instructions with interfacing.
- Create bias binding for the armholes using matching fabric. To do this you can follow our educational blog post here, or use ready-made bias tape if you wish.
Sewing Process:
Sewing this together is really easy! The process is the same as the Heather Blazer instructions with a few changes due to omitting the sleeves.
- Sew together back B at the centre back seam as per the instructions.
- Sew together the front A pieces, to back B piece at the shoulders, and side seams, iron them all open.

- Stitch the pockets on front A.
- Repeat the sewing process with the lining pieces.

- Sew lining front H, to facing C as per the instructions
- Lay out the lining right sides up, and matching right sides together the outer and lining pieces.

- Pin them together around the front edge, neckband, and other side front edge. This is the process where you would normally be sewing around the collar, but as the collar isn't there you just simply stitch front the hem notch, all the way around the neck, back down the other front hem notch.
- Trim corners and press out.
- Hem the blazer as per the instructions to make sure to bag out the lining properly.
- Baste the lining and outer arm holes together wrong sides facing as if the jacket was being worn, with a 1/4 inch from the edge, this holds them together and makes it easier to sew on the binding.
Bias Binding to finish the arm holes:
- Finishing the armhole is done with matching bias binding. I prefer to make my own to match the fabric but you can use ready made if you wish.
- Sew your bias binding right sides together around the arm hole, leaving a flap of the bias binding at the start. Sew all the way around, leaving another flap on the other side, and a 1 or 2 inch gap. This is to close up the binding with a seamless finish.
- Pin the 2 flap pieces of bias binding together right sides, where the two meet on the arm hole. Push the armhole out of the way and carefully stitch those flap pieces together, Trim off excess and iron seam open. Sew up the rest of the bias tape on the armhole.
- Now you can fold the bias tape under, then under again so the bias tape is encasing the lining on the inside of the vest. Stitch this in place by hand, only sewing through the bias binding and lining so that you can't see the stitch on the outside.
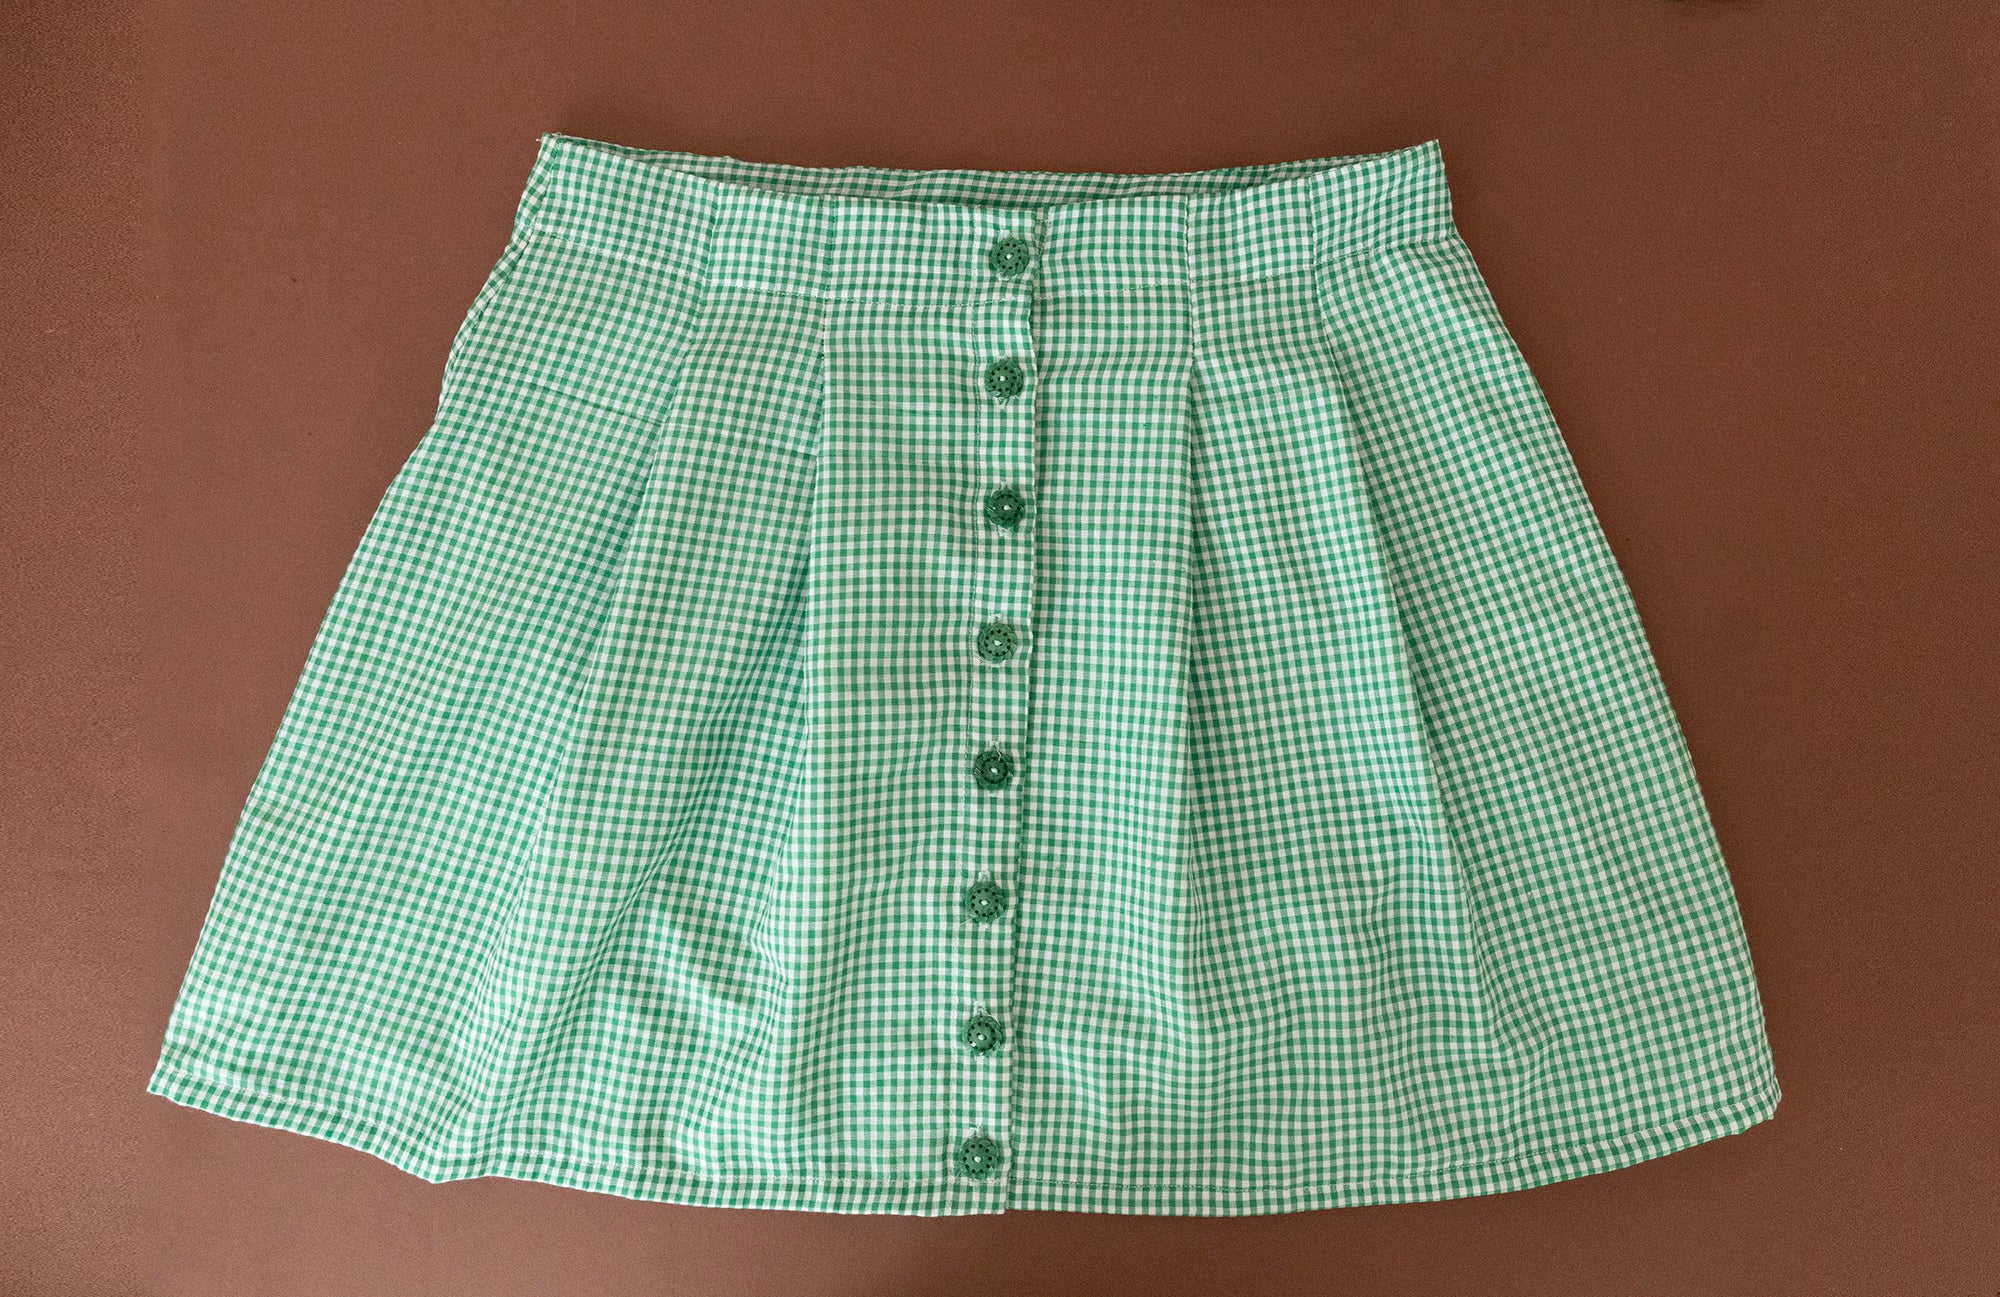
- Sew on a button hole, and button, and that's it!


Leave a comment
This site is protected by hCaptcha and the hCaptcha Privacy Policy and Terms of Service apply.