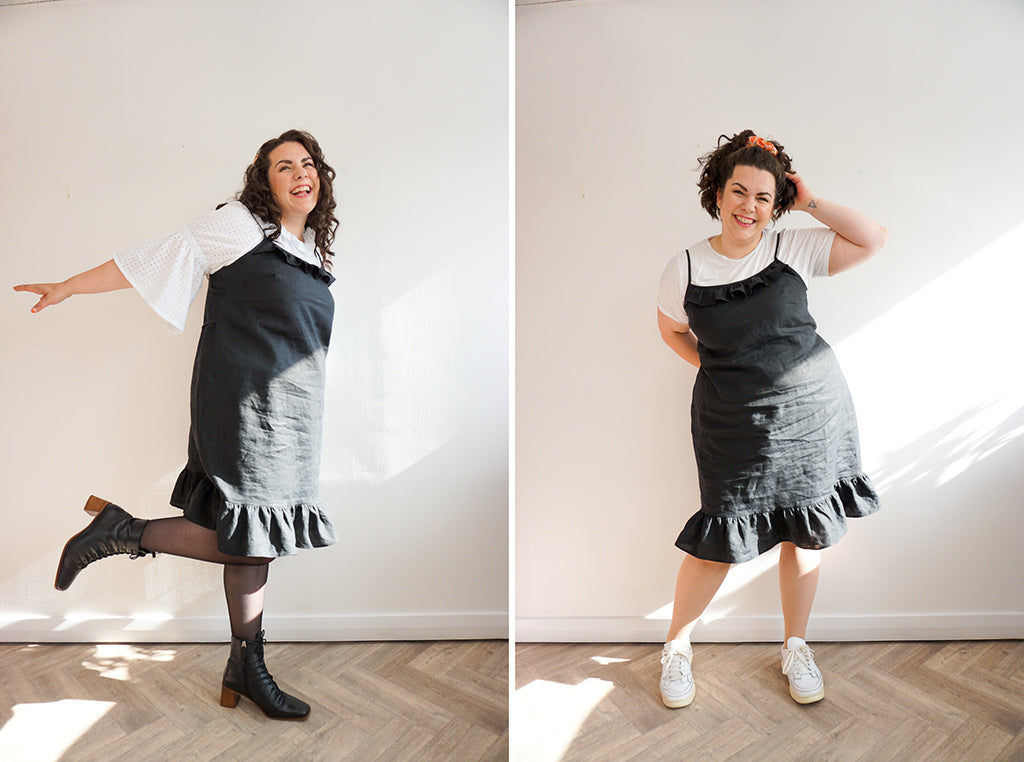
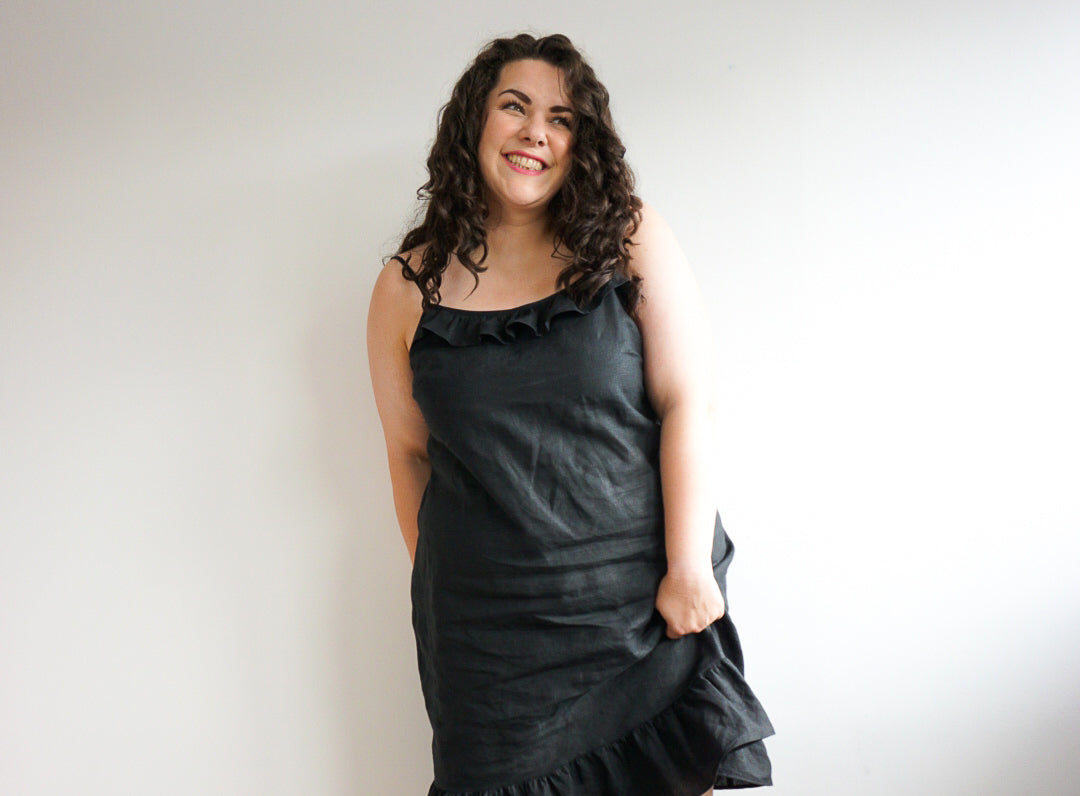
Hi I’m Samantha from @purplesewingcloud and incredibly excited to share my latest make with you, a Saltwater Slip Dress with ruffle neck and skirt hack.
For this hack I'm using the Saltwater Slip pattern (short version) I’ve added an adorable ruffle around the neckline and around the hem. I love a ruffle and think these additions make it even more cute to wear. It’s become and a huge staple in my wardrobe and goes with so much, I'm wearing it with a cute polo neck in cooler weather or a pretty blouse like the sage brush for the ultimate date night look.

I have made a XL at the bust and graded to a size 1x at the hips. I’ve used a medium weight linen for mine but I think this would work great in lots of fabrics, drapey fabrics like viscose or satins or more stable ones like chambrays or cottons. You will need an additional 0.5 metres of fabric to make this hack.

Cutting & Preparing the Pattern Pieces:
The first thing we need to do is get everything prepared, cut out and mark all the pieces for your garment following the instructions (no need to alter them unless you’d like the garment longer or shorter).
Now for the ruffle pieces, you don’t need to draft or alter any pattern pieces for this hack we just need to cut out some rectangles to your chosen measurements.
The neckline ruffle:
I measured a rectangle 2x the length of my neckline. Example: the neckline is 15’ inch so I’ve made my ruffle is 30’ inches long.
TOP TIP: If you are using a thicker fabric you may want to reduce this to x1.5 or x1.75, if your using something lighter or drapey try increasing it to x2.5 or x3 for a more luxurious ruffle.
For the depth of the ruffle piece I’ve gone with 4’ inches this includes the allowance for the hem and seam allowance of the ruffle, you can change this if you’d like it shorter or longer.
Once it’s cut mark the centre point at the top with a bit of chalk or a snip.
Then line the front dress pattern piece up with the rectangle corner and cut around the arm hole so it looks like the below image, do this on both ends of the rectangle.

The skirt:
Again we are going to cut some rectangles, we need two, one for the front and one for the back. It’s important to measure the front and the back of the hem separately to make sure the gathers are even.
Measure your front hem and times the measurement by 2, this is the length of your rectangle, then cut this out with a depth of your choice, I did mine 6’ inches. Then measure your back hem, multiply this by 2 and use the same depth.
Fold your front and back skirt ruffle pieces in half making sure not to confuse them, on your front skirt ruffle mark a single notch in the top fold point and on your back ruffle mark a double notch.
Ok lets get sewing!!
Follow the pattern instructions and stop at step 8.
Now we need to sew the neckline ruffle, before we attach it we are going to sew the hem, I’ve used a narrow hem for this. There’s a few ways to do a narrow hem, you can do a rolled hem on your over locker, use a narrow hem foot on your machine or do it following these instructions. There’s no right or wrong way!
First step is to press the hem up by 1cm then sew a row of stitches 3mm from the edge, once it is sewn trim the excess away. Be careful not to snip into your ruffle!

Once all the excess is trimmed, fold and press again.
Then sew a row another row of stitches along the edge and like magic you’ve sewn a narrow hem!
Trim the excess from each corner so it looks like this …

Now it’s time to sew the gathers, sew 2 row of long stitches 1/4’ inch and 1/2’ from the top of your ruffle.
Pin the ruffle on matching the centre notches. Also pin down the sides of the ruffle along the arm hole.
TOP TIP: I'm using prym easy grip pins, these are excellent if you have trouble with your grip or disabilities in your hands.

Starting at the side of the ruffle sew it on using a 0.9cm seam allowance.
Grade the seam allowance by trimming the excess from along the top of the gathers but not the dress/bodice neckline.

The side of your ruffle should look like this.

Then attach the neckline binding following the instructions.

Follow the instructions to complete the rest of the dress but stop before at step 23 before you sew the hem.
Now its time to sew the skirt ruffle!
First sew to the sides of the ruffle right sides together, finish the seams and press to the back.
The sew two rows of gather stitches, the first row 1/4’ inch from the top and then 1/2’ front the top. Pin on the ruffle and sew with 3/8’ seam allowance. Finish seam and press upwards.
At this point I would try on the dress and check the length, we are going to do another narrow hem so it will go up by 1.3cm/1/2’ inch.
Sew the a narrow hem using your preferred method or following the instructions above.

And you’re finished. Pop that dress on, play a your favourite music and have a dance around your sewing machine!
You now have a cute little dress that will be a wardrobe staple through all seasons, the styling options are limitless.


Free to adapt these instructions to suit however you like to sew and please tag me and Friday pattern company in your makes, I cant wait to see them!
Stay safe and happy sewing, Samantha x x x
-
Shop the Saltwater Slip Dress Pattern here.
Follow Sam on Instagram here.


Leave a comment
This site is protected by hCaptcha and the hCaptcha Privacy Policy and Terms of Service apply.