In this blog post, Samantha from Purple Sewing Cloud shares a wonderful Saguaro Set Hack to add some frills to the pants, top waist-band & sleeves. Continue reading to find out more.
Hi, Samantha here from @purplesewingcloud. Over the last few years my style has changed slightly, I still love wearing pretty dresses when I'm out and about but when I'm the house I want to feel comfortable but put together and the saguaro set has really helped fill this hole in my wardrobe. I made a set in cotton double gauze and let me tell you… I can’t take it off, I wear it around the house all day, nap in it and to pop to the shops, it’s so dreamy and comfortable!

So I needed a second set but I wanted something a little different, something with a bit more coverage in the tummy area and with some flirty playful touches.
The details
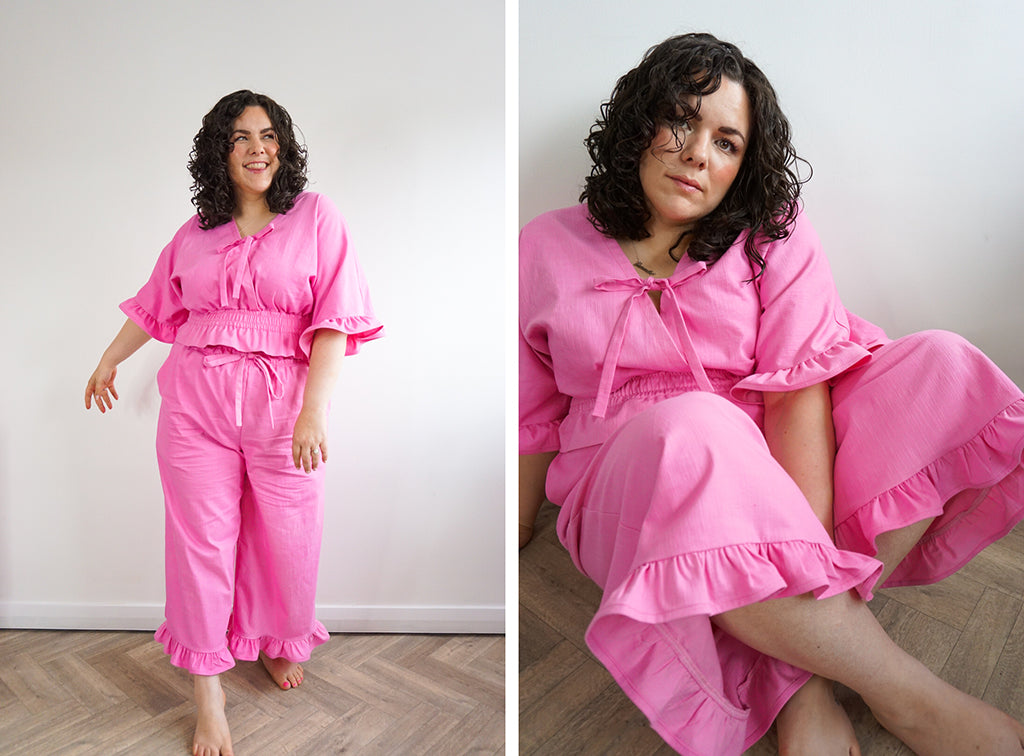
I decided on a the fabric first and went with a fun bubble gum pink medium weight linen, then I looked at the details I wanted, I decided to add ruffles to the sleeves and trousers then added a ruffle to the waist of the top to give me the tummy coverage I wanted.

The pattern
My measurements at the time of making the pattern were upper bust 41’, full bust 46’, waist 40’, hip 50’ I made a size 1x with a 1.5’ FBA and then increased the cross over at the front by 2’. Details for these adjustments can be found at www.fridaypatterncompany.com/saguaro-fit

Then for the hacks I was making I reduced the sleeve length by 2 inches and the trouser length by 6 inches to make them slightly cropped.
I also skipped cutting and making the binding because I had a this perfect colour match in my stash.

The top waist band details.
For the waist band on the top, the band is folded in half then sewn to the top with the elastic inserted. I wanted a 2.5 inch ruffle below the elastic so I added 5 inches to the depth of the front and back band when I cut it out, I just did this with a quilting ruler but you can adjust the pattern pieces too if you prefer. You can make this ruffle as long or short as you want, just double the measurement that you’ve like and add to the depth of the waist band.

To sew this waist band detail first sew up the top and stop at point 15 of the instructions, it should look like the below image.

Sew the sides of the waist band together following the instructions and then fold in half and press.
To make the channel for the elastic mark a line 2.5 inches from the folded line with a fabric marker, pin along the line and then sew along the line all the way around the waist band.

Then attach the waist band and insert the elastic following the instructions. The elastic should sit in the channel you’ve made with a ruffle below it.

Secure the elastic with some zig zag stitches following the instructions and that’s your waist band complete!

The ruffles
Before I started the ruffles I sewed up the trousers with only the hems left to do so I could batch sew all ruffles together for ease. I love batch sewing like this!

To cut the ruffles I don’t make pattern pieces as they are just rectangles, I just marked them cut them using a quilting ruler. If you prefer you can make paper pattern pieces.
This is a medium weight fabric so I cut them with a ratio of 1.5 the measurements of the hems, if your using a lighter fabric like viscose you could increase the ruffle to a ratio of 1.75 or 2 for more drama.
To get the measurements you need for your ruffle first measure the hem of your sleeve and the hem of your trouser. I did this after I have had made them and tried them on so I knew it was at the right length.
So my trouser hem was 33 inches times by 1.5 my ruffle needed to be 49.5 inches long plus seam allowance. For the depth I did 2 1/2 inches plus a seam allowance for the gathers at 3/8’ and a seam allowance for the hem 1/2’ so the ruffle for my trouser was 50 1/4’ inches by 3 3/8’ inches.
Length of ruffle = Hem length x 1.5 + seam allowance.
Depth of ruffle = 2 1/2 (or preferred ruffle depth) + seam allowance to attach + seam allowance for a hem.
Cut one pair of ruffles for trousers and one pair for sleeves.

Once all you ruffles are cut out sew the short edges together and finish the seam on each rectangle so you have 4 large loops.

I like to hem the ruffles before they are attached because its less fabric to wrangle under the machine. I did a 1/4 inch seam on the ruffles, it can be tricky so here’s how I did it.
First step - Sew a line of stitches about 1/8 around the ruffle
Second step - Fold and press so the stitch line is just inside the fold
Third step - Fold over again and press
Forth step - Sew along the fold line, and that’s your tiny hem.
Top tip - An edge stitch foot makes this a breeze!

Once they are all hemmed add 2 rows of gather stitches around the top and pin onto the sleeve and trouser hems.

Once they are all attached finish the seams press them towards the sleeves and trouser legs.

Now they are all finished you’re ready to wear them and be fabulous!


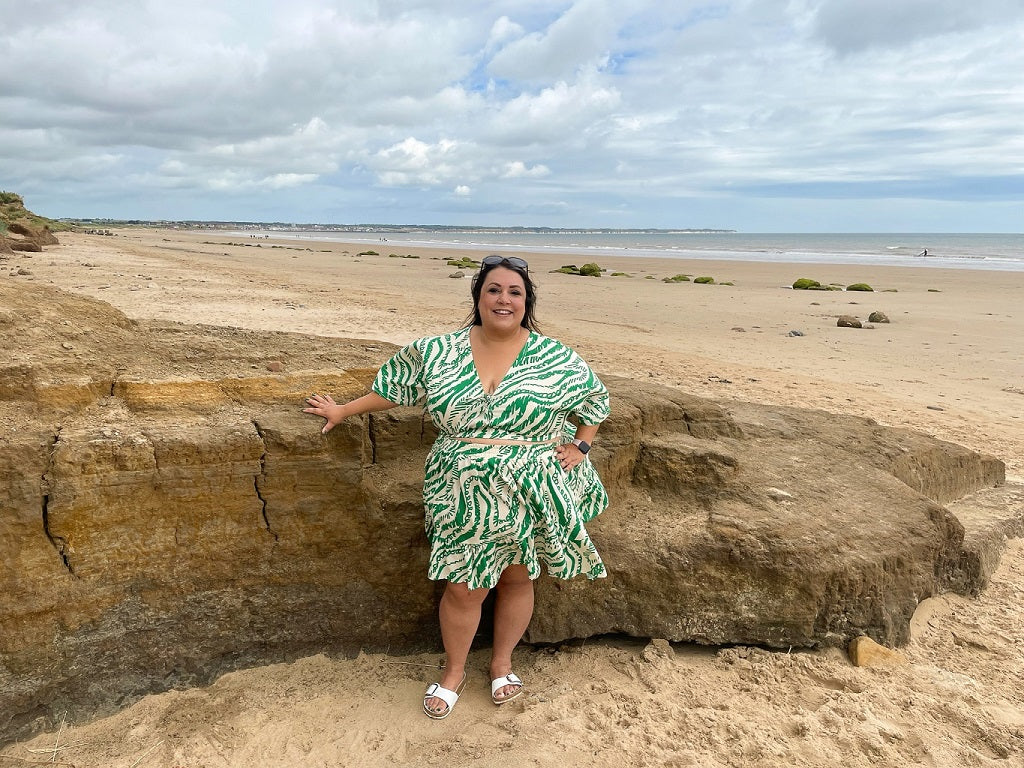
I cant wait to wear these in the garden relaxing, to the beach over my costume or just whilst I'm napping on the sofa with a good film, they are perfect for so many occasions.
Although they are a set I also think there’s loads of great options to mix these pieces up with items I already have in my wardrobe. I think the top with some jeans will be a perfect!

Thanks for reading my blog post I hope it’s inspired you to create something special. If you do use this blog post or make something similar I’d love to see, please tag me and @fridaypatterncompany
You can also follow me on instagram @purplesewingcloud for more of my makes.
Happy sewing, Samantha x
-
Shop the Saguaro Set PDF Pattern here.
Shop the Saguaro Set Printed Pattern here.


Leave a comment
This site is protected by hCaptcha and the hCaptcha Privacy Policy and Terms of Service apply.