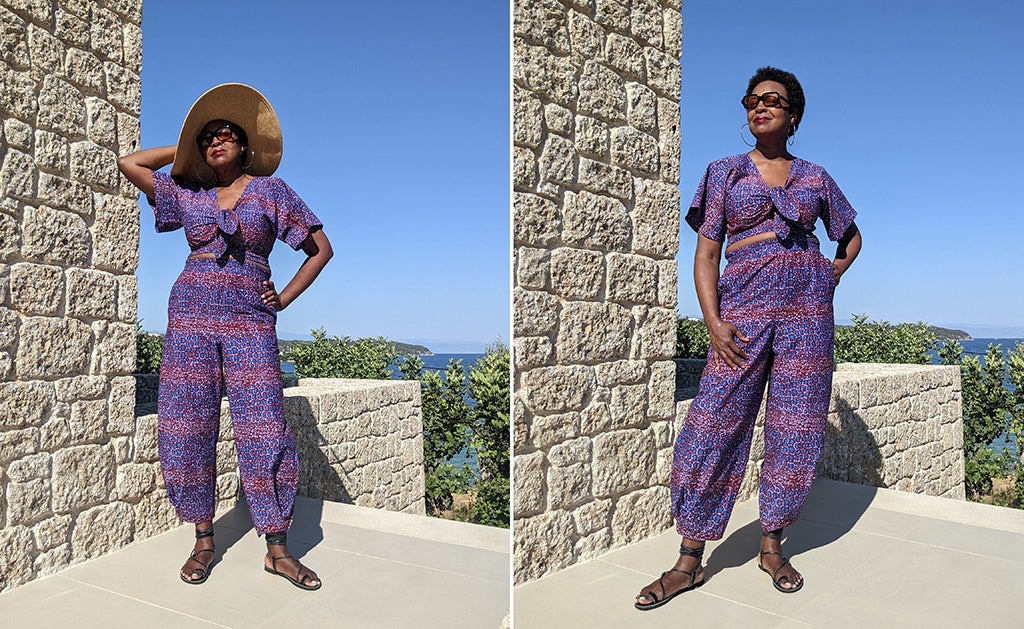
Hi, I’m Pauline aka @sewuthinkucan on IG, your friendly neighborhood pattern whisperer/hacker. I am super excited to share how I put my spin on the fantastic Saguaro Set pattern to create a tie front top hack & harem style pant. Continue reading to find out more.

The moment I saw the Saguaro set pattern I thought Chelsea was reading my mind while designing it. I couldn’t wait to get my grubby little hands on this pattern and sew several versions of it.
I’m a diehard dress lover but as of late two-piece sets have been my primary obsession. They’re my go to wardrobe outfits because of their versatility and interchangeability. I can’t believe I didn’t pack a single dress on my recent trip to Greece. Shocker!!!!
It’s about time that I fulfill one of my pledges for this year which is to have more separates in my closet than dresses. So far so good, I’ve been churning out plenty of separates.
Tie-front dresses and tops are everywhere this summer so I wanted in on the hype.
Farm Rio and Mara Hoffman were my inspirations for the tie-front hack.

Tibi is the inspo behind the balloon/sculpted pants hack.

I originally wanted a regular jogger style pants with an elasticated hem but after trying it out it just didn’t work with the top so I opted for the inverted pleat hem instead. Sometimes the simplest hacks are the ones that elevate a garment the most.
Without further ado, let’s get into this super easy hack. The tie-front hack actually provides great coverage if you don’t want to show too much cleavage.
For reference, I cut a size L(10-12) and I’m 1.70m/5’7 tall. I used one of my favorite wax prints bought in 2019 in my hometown, Lomé, but I’m sure you can find it easily online. My fabric is like a medium weight cotton quilting so it makes my version a little more structured than the recommended fabrics.
Here are the pattern alterations for the top.
Drafting a tie front:
-make sure you do your usual bodice piece mods before drafting the tie extension
-tape a large piece of paper to the bodice front
-using a ruler trace a straight line to extend the lengthen and shorten line by 12 inches

-from that line trace another one parallel to the first and 5 inches apart from it. Mark the middle at 2.5 inches and trace a line that is 3-4 inches longer than the previous two.
-using a curved ruler trace a line that joins the upper line of the tie to the edge of the bodice.

-do the same thing to join the bottom line to the bottom of the bodice at the overlap marking.

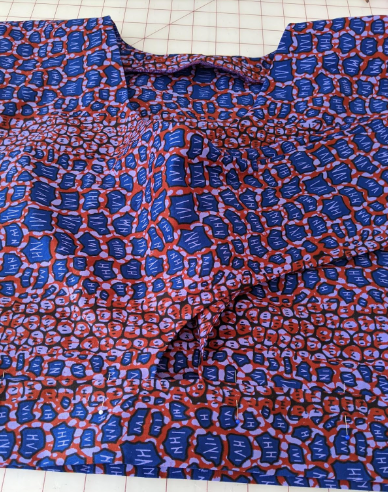
I wanted a keyhole look on mine but feel free to trace yours from the bottom edge of the bodice to the bottom line. (see pic below)

-using the curved ruler trace a curved line going from the end of the upper line to the edge of the middle line.

-repeat for the other side.

The altered pattern should look like this:

Now it’s time to draft the front and back facings.
- Mark dots 2 inches from the front and back neckline edge and trace a line connecting the dots.

- Cut the facings.

- Cut your new bodice and facing pieces.
- Sew the main front and back bodices and then the facing front and back at the shoulder seam . Finish the raw edge of the facing and sew the main bodice to the facing right sides together. Trim the seam allowances and press towards the facing, understitch as far as you can into the tie. You won’t be able to stitch all the way, but go as far as possible to help keep the facing anchored to the inside of the top.
- Slipstitch the back facing to the back bodice from one shoulder seam to the other.
*Follow steps 13 and 14 of the pattern instructions to sew the side seams.*
Sew the waist elastic casing.
- With right sides together, match up the short ends of top front waistband and top back waistband and sew. Repeat on both sides. Press seams open.
- Press the waistband in half wrong sides together and press the raw edges of one side of the waistband under by 3/8"(1cm). With right sides together pin the unpressed edge of the waistband to the top front and back waistline and sew. Press seam allowances toward the waistband. Fold waistband to the inside of the waistline covering the seam allowances with the folded edge. Pin.
- On the outside of the top, edgestitch along the waistband starting from one front edge to the opposite front edge leaving an opening to insert the elastic. Insert the elastic and sew the opening close.
- Proceed with the pattern instructions to topstitch the waistband.
*Hem the sleeves per pattern instructions.*
Balloon/sculpted pants hack.

The balloon shape is achieved by an inverted box pleat on the bottom of the pants.
*Follow pattern instructions from step 24 to 45 to sew the pants. I omitted the drawstring on mine. Determine your preferred length for the pants.*
- Before proceeding with step 46, mark the fold line on the bottom of the pants. Using the bottom outer seam as your center point, on the front part mark or put a pin 2.5 inches apart from the center point then put another pin 2.5 inches from the first pin. That’s your fold line. On the back pants place a pin 3 inches apart from the center point and another one 3 inches from the first. That’s your foldline.
- Fold along the outside lines (at 5 inch and 6 inches) to meet at the center point. Baste to secure the pleats. Fold under 3/8”[1cm]. Turn it under another 3/8”[1cm] and edgestitch in place.
- The fun thing about the pleats is that you can undo them later if you get tired of the look and wish to revert back to the regular wide hem of the pants.
And voila. I hope you will give these two hacks a try.


-
Check out Pauline on Instagram here.
Shop the Saguaro Set here.


Leave a comment
This site is protected by hCaptcha and the hCaptcha Privacy Policy and Terms of Service apply.