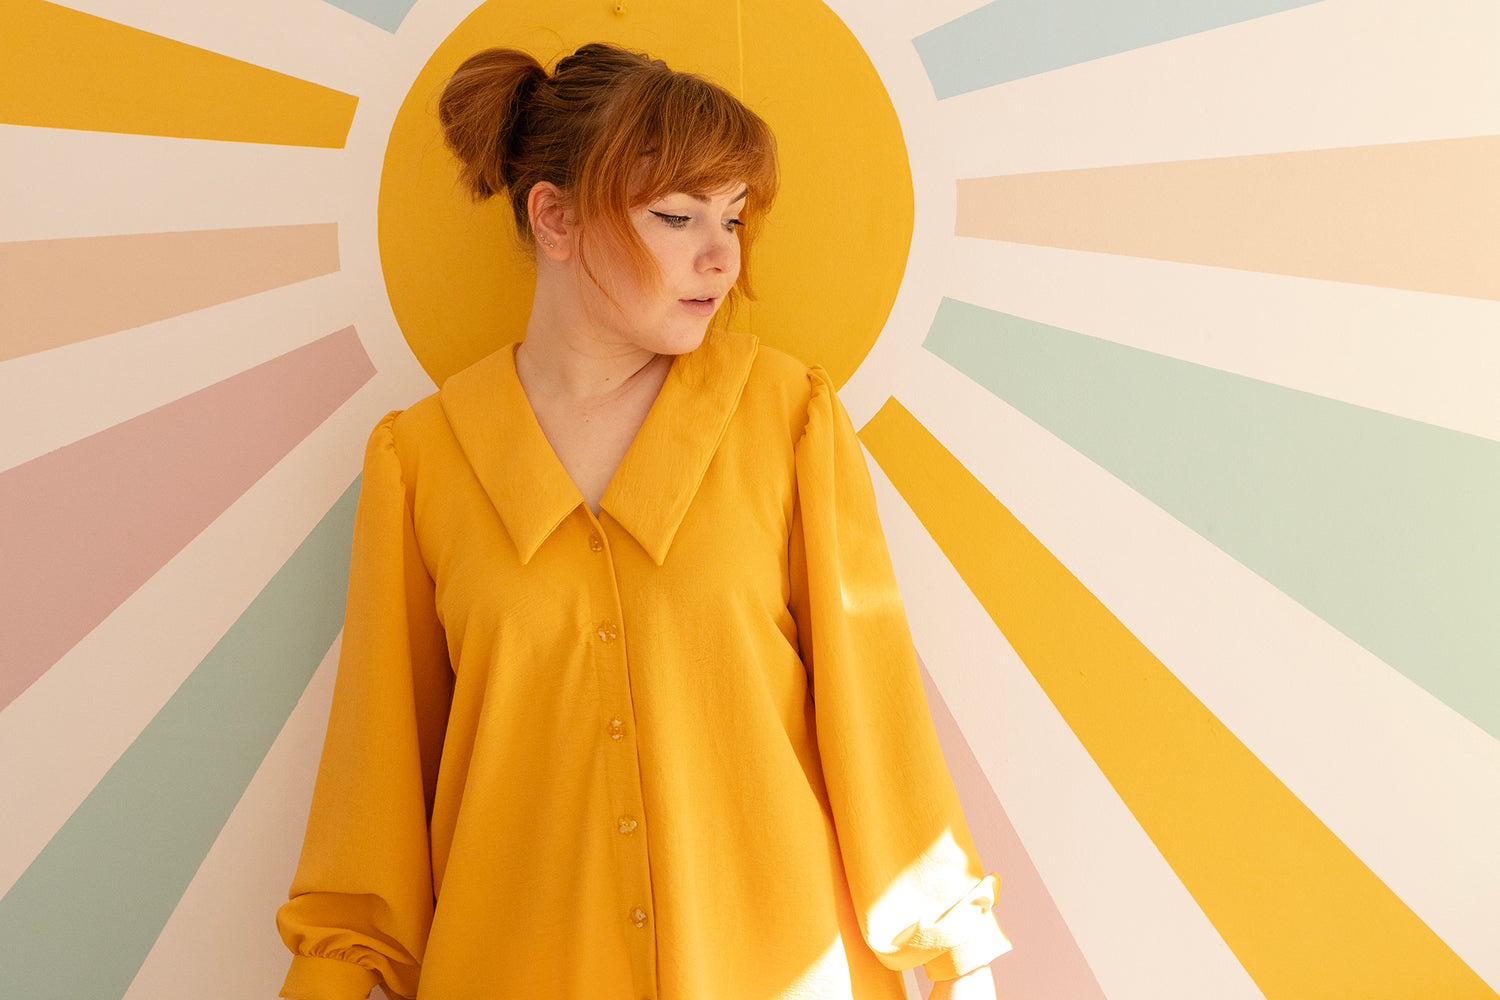
As we head into fall, it's the perfect time to start planning and working on fall projects. In this blog post we are showing you how to create a Patina Blouse dress hack, which is really easy to do. Continue reading to find out more.
Pattern Modifications:

The modifications are really easy to do, and the best way to do this is with some large sheets of tracing paper or drafting paper.
- Lay out piece A and C (front and back pieces).
- Trace the existing pattern pieces onto tracing paper, making sure you have space below the hem to add an extension for the dress.
- Measure 13 inches (this came to above knee length on me and I am 5"2, so extend this amount or lessen it if needed for your desired length.
- Draw a straight line from your centre front line, the length you want it. As per above this was 13 inches for me.
- Repeat this process with the side seam, but also gradually grade it out slightly (as shown in the diagram). This gives the dress more ease around the hips which as I am bigger on my hips to bust ratio I needed, to allow for comfort of movement!
- Cut all the other pieces as per the instructions.
- Optional belt: I created a rectangle belt piece which measured 3 inches wide, and roughly 100cm long (I just held the piece up around my waist and did this by eye, to see if there was enough excess to tie it into a bow).
- You also need to add the same 13 inches to the button hole placket facing. Pieces F and J.
Sewing Steps:

The sewing steps are the same as the Patina blouse, so you can do all the same things as sewing up the blouse.

The pattern features the burrito method for the yoke, and we will do a separate educational blog post on this method with more details, as it may seem a tad confusing at first but it actually pretty straight forward and satisfying.

Insert the sleeves, and you can choose if you want the short or long sleeves. I thought the long sleeves would be perfect for this style of dress.

Sew the sleeves and side seams in one step, and this will of course be a longer stitch with the dress extension, so you could add extra reinforcement stitches under the armpit if you're concerned about the lengths of one stitch.

Follow the button guide on the original pattern, and then use either a ruler or handy button hole measuring tool (as photographed) to add the extra buttons to the rest of the dress. In total I needed 12 buttons, 10 for the dress front, and 2 for the sleeves plackets.
Finished Dress:


Here is the finished dress! It's so easy to do, and makes the perfect cute collared shirt dress for A/W! I'll be styling it with boots and an Ilford Jacket, or styles with a sleeveless vest and sneakers.
Shop the Patina Blouse pattern here.
Flower Buttons from here.
Fabric from Rainbow Fabrics.


Leave a comment
This site is protected by hCaptcha and the hCaptcha Privacy Policy and Terms of Service apply.