
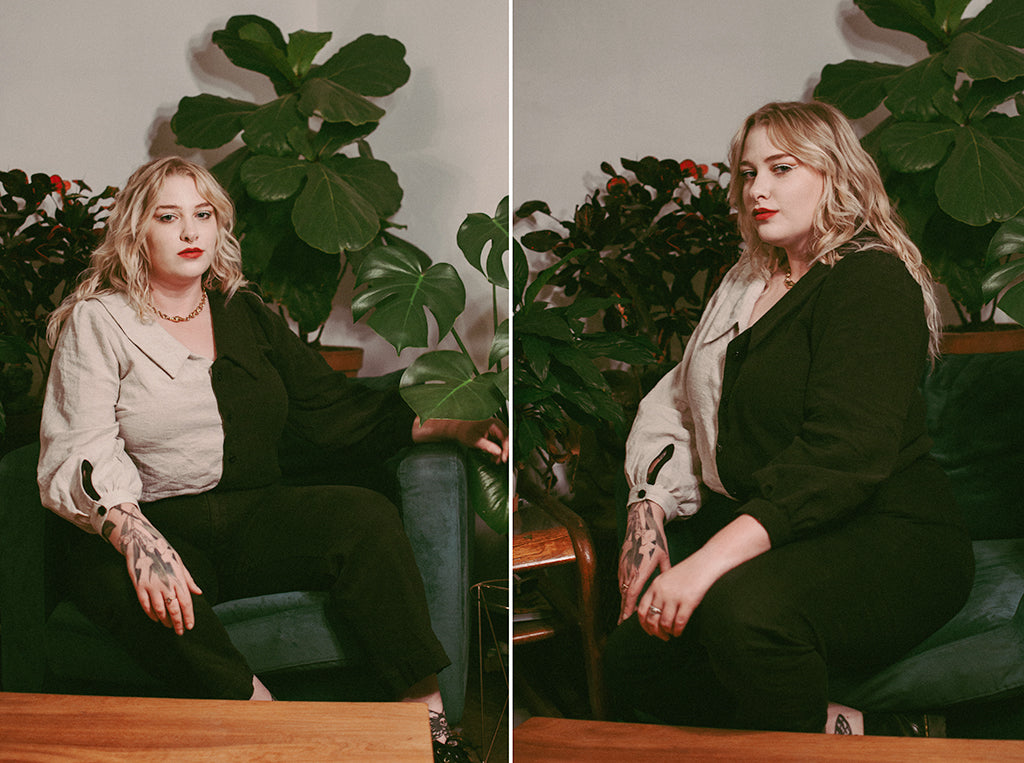
Hey, my name is Meg from @SableCraft and I'm sharing a Patina Blouse Hack Color Block in this blog post. Continue reading to find out how I create a black and cream color block Patina Blouse and the steps I took to alter the pattern pieces.
Inspiration for the make:
The first thing you should know about me, as a human being, is that I love a 50/50 color blocked black and white outfit. People often think it’s a Cruella de Vil reference but to be honest, I’m not a huge Disney person I just respect the drip. Some of my favorite inspiration lately has been goofy little outfits like these:

I have even embraced the trend already with a little sewing and a few purchases over the past 18 or so months

When Paige of Friday reached out to ask about a hack for the Patina Blouse I felt deep in my bones I was ready to talk about my half and half sewing process.
Planning the make:
The first step in the process is to sit down, look at your pattern pieces, and think about how much contrasting color blocking you want to achieve. I could have swapped the colors of the collar to give it more contrast or flipped the colors of the sleeves for a more abstract look. Personally I ended up just having a wink of the other color on the bias binding of the sleeves.
I am an extremely visual thinker, so when I’m doing color blocking on a pattern I always need to draw a simple diagram. This is less of a vital step and more of a reference guide for me when I feel myself getting lost in the project. I always secure it to the wall because my sewing space is messy and I will often reference it, even just visually.

Altering your pattern pieces:
The next step is to alter your pattern. This part always ends up being a little bit of puzzle solving in my brain. The bodice front (A) does not need any editing to the pattern piece because of the front button opening. I ended up doing a 1inch FBA on the pattern piece which is a standard adjustment I do on all bodice patterns graded for a small cup size. The sleeves (D) and the sleeve cuffs (G) also do not require any pattern alterations.
The pattern pieces that do need to be altered, (B) and (D), Slice the pieces in half exactly down the middle. Discard one of the pieces and add a strip of paper to the side where you cut that is the width of the seam allowance (so in this case add on a 10cm seam allowance on the edge you cut). Remember that you will now cut two pieces of fabric out of your (D back) piece and 4 of your (B back yoke) piece.

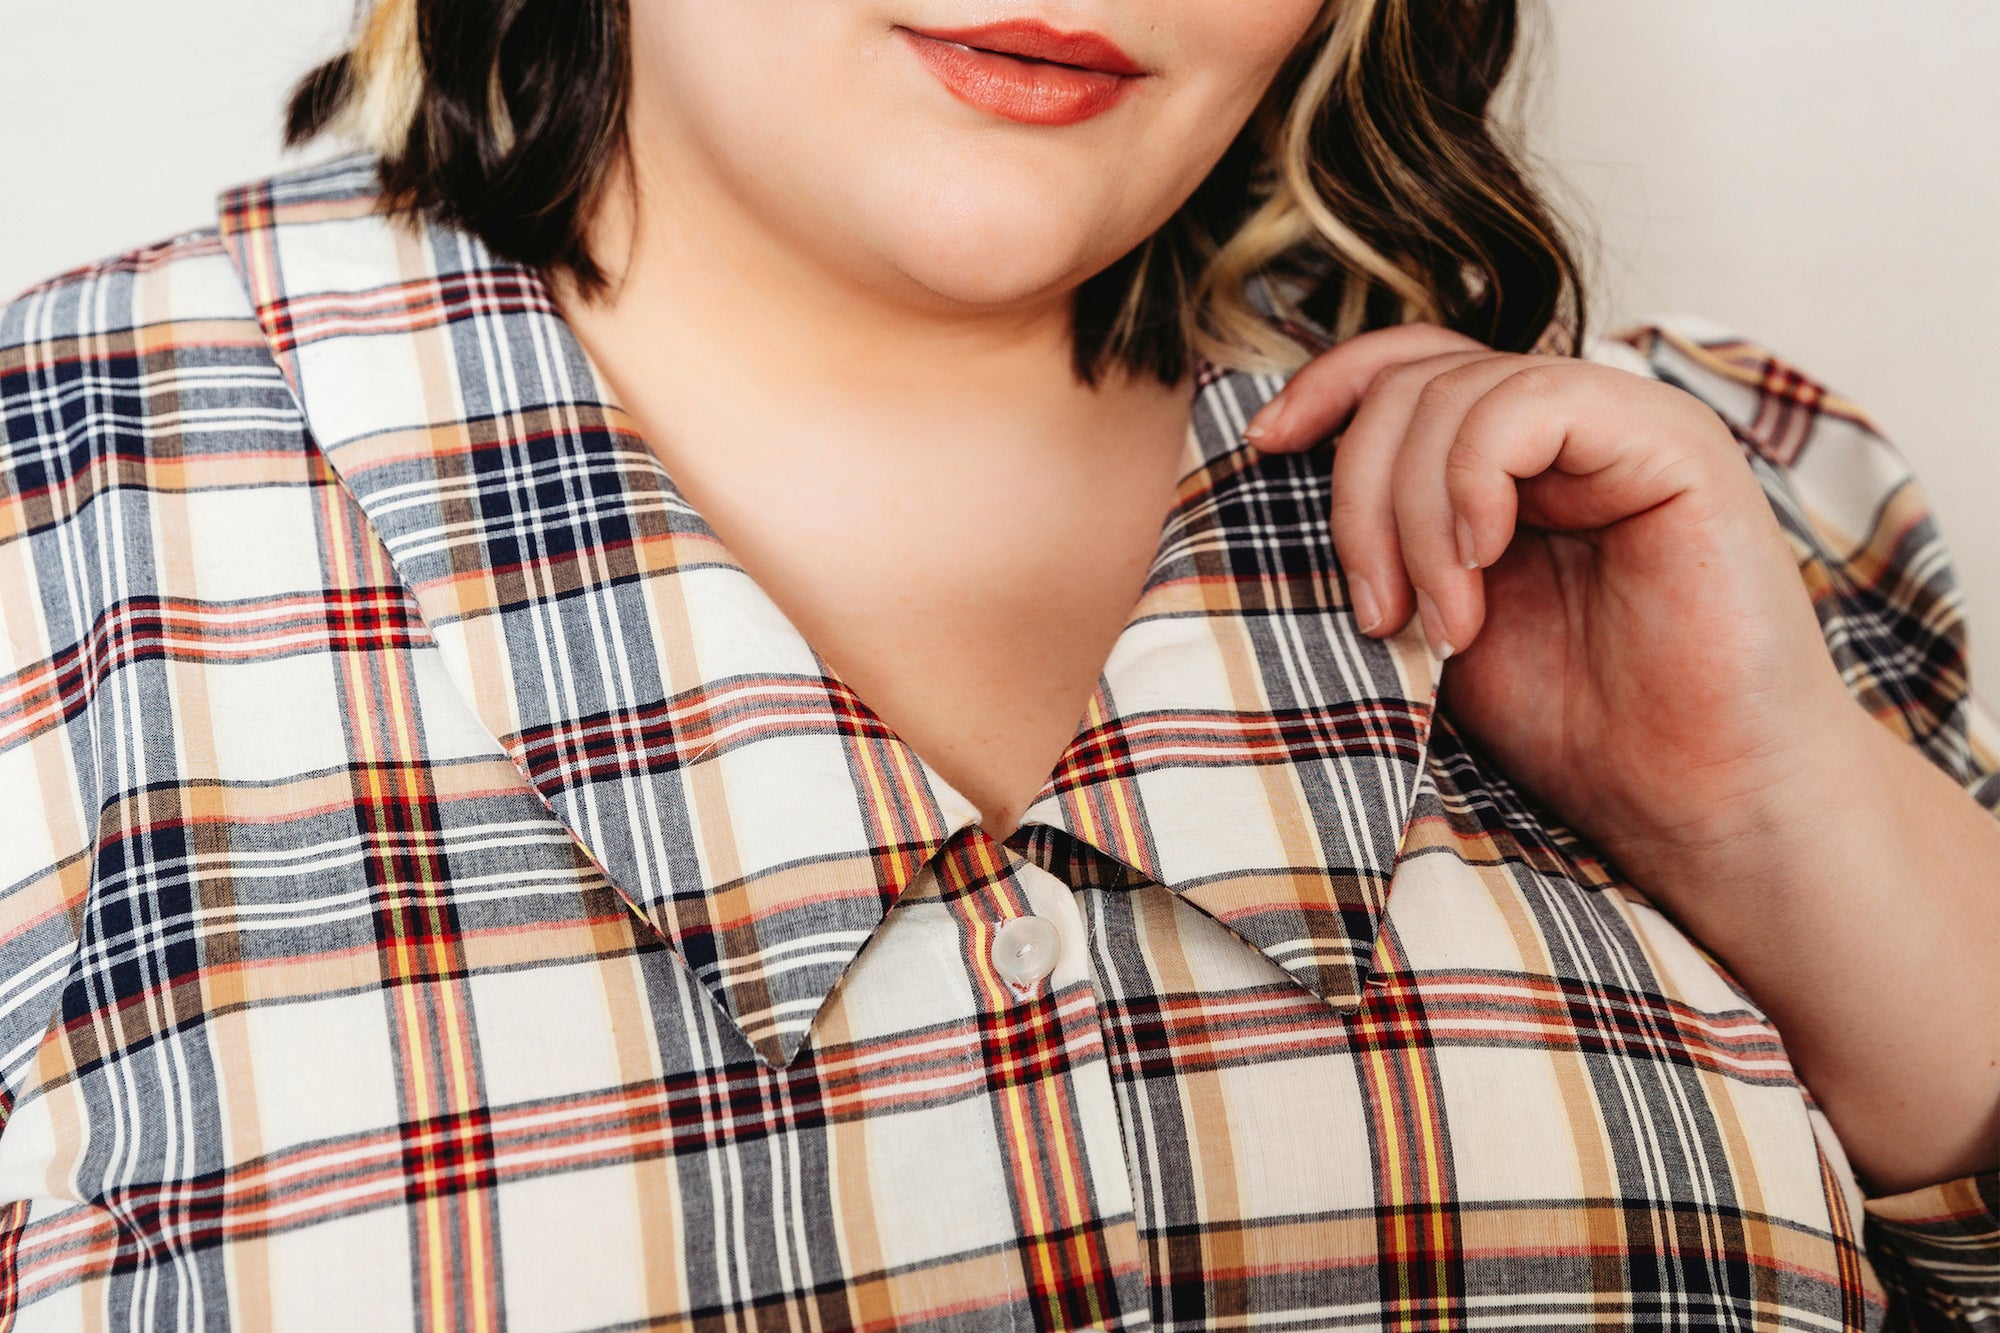
You may instinctively want to add a seam allowance to the collar (E) and facing (F) pieces but you must resist! These pieces are already drafted to be sewn together down the middle, so just cut one of each color of fabric and do not edit the pattern pieces.
Be mindful when cutting your fabric with these pieces. Usually when you’re color blocking the fabric is solid and does not have a front and back side, but I still like to be very careful when cutting and tracing my marks that it’s on the correct side of the fabric. Technically you are safe if you cut one color of fabric with the front of the pattern (aka the side of the paper with writing on it) facing up, and the other color with the pattern facing down. Even though this is a great trick I still spend a lot of time making sure the piece that I am cutting is correct according to my little chart on the wall. I suppose you could also lay one color of fabric on top of the other and cut this way, but honestly I don’t trust myself to do this accurately. I play it safe and do not sip any wine while cutting fabric. Little tip could be to write in tailors chalk 'wrong side or WS' on the wrong side of the fabric once you know, to make it easier through the sewing process to refer back to.

My best tip for time saving and morale boosting is to use two machines with the two colors of thread already loaded if you are able. This is not mandatory to achieve the look but does alleviate the frustration of having to rethread the machine each time you need to change the color of the thread.
I finished my seams with french seams. When seams are enclosed and do not need to be finished, I always press the seams open so that the darker color fabric does not show through the lighter color. Keep this in mind when you’re pressing and finishing.
Construction from this point is the same as instructed! This hack involves a lot of set up and attention to detail, but very little risk when it comes to altering the pattern. If you’ve made a muslin or are confident in the fit of your blouse, you shouldn’t have to worry about the fit of the final color blocked version.


I hope my trial and error can assist you in experimenting with color blocking in your next sewing project! I particularly love doing this with button up blouses, and the Patina Blouse is a perfect fit for this kind of hack. The collar is begging to try something fun like switching up the colors, and the drama of the sleeves adds some fun whimsy.
-
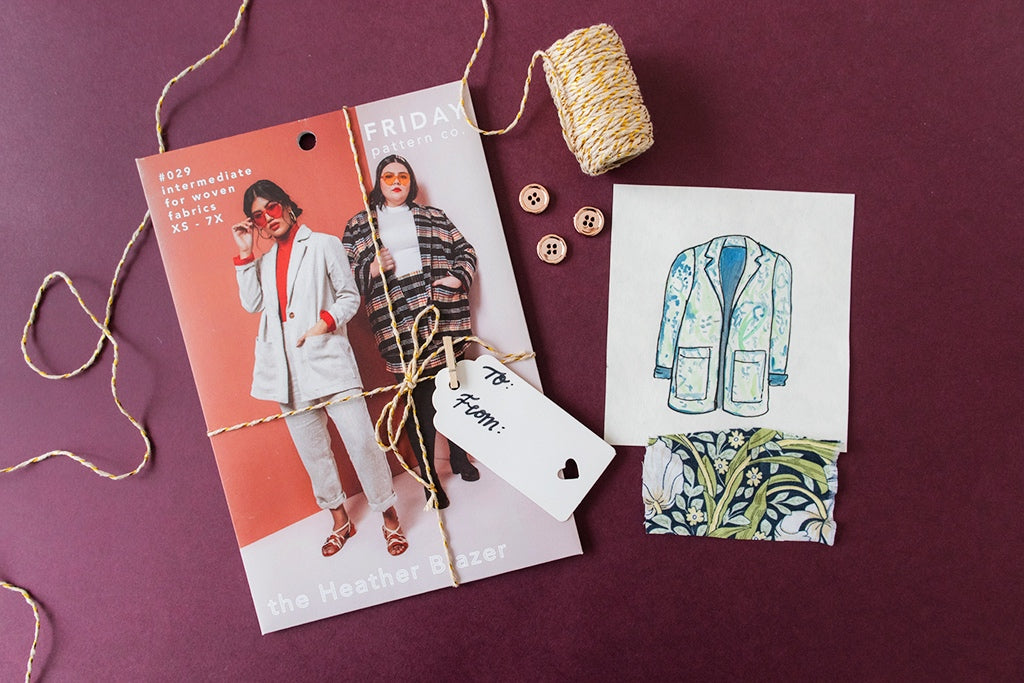
Shop the Patina Blouse pattern here
Follow Mary on Instagram here


Leave a comment
This site is protected by hCaptcha and the hCaptcha Privacy Policy and Terms of Service apply.