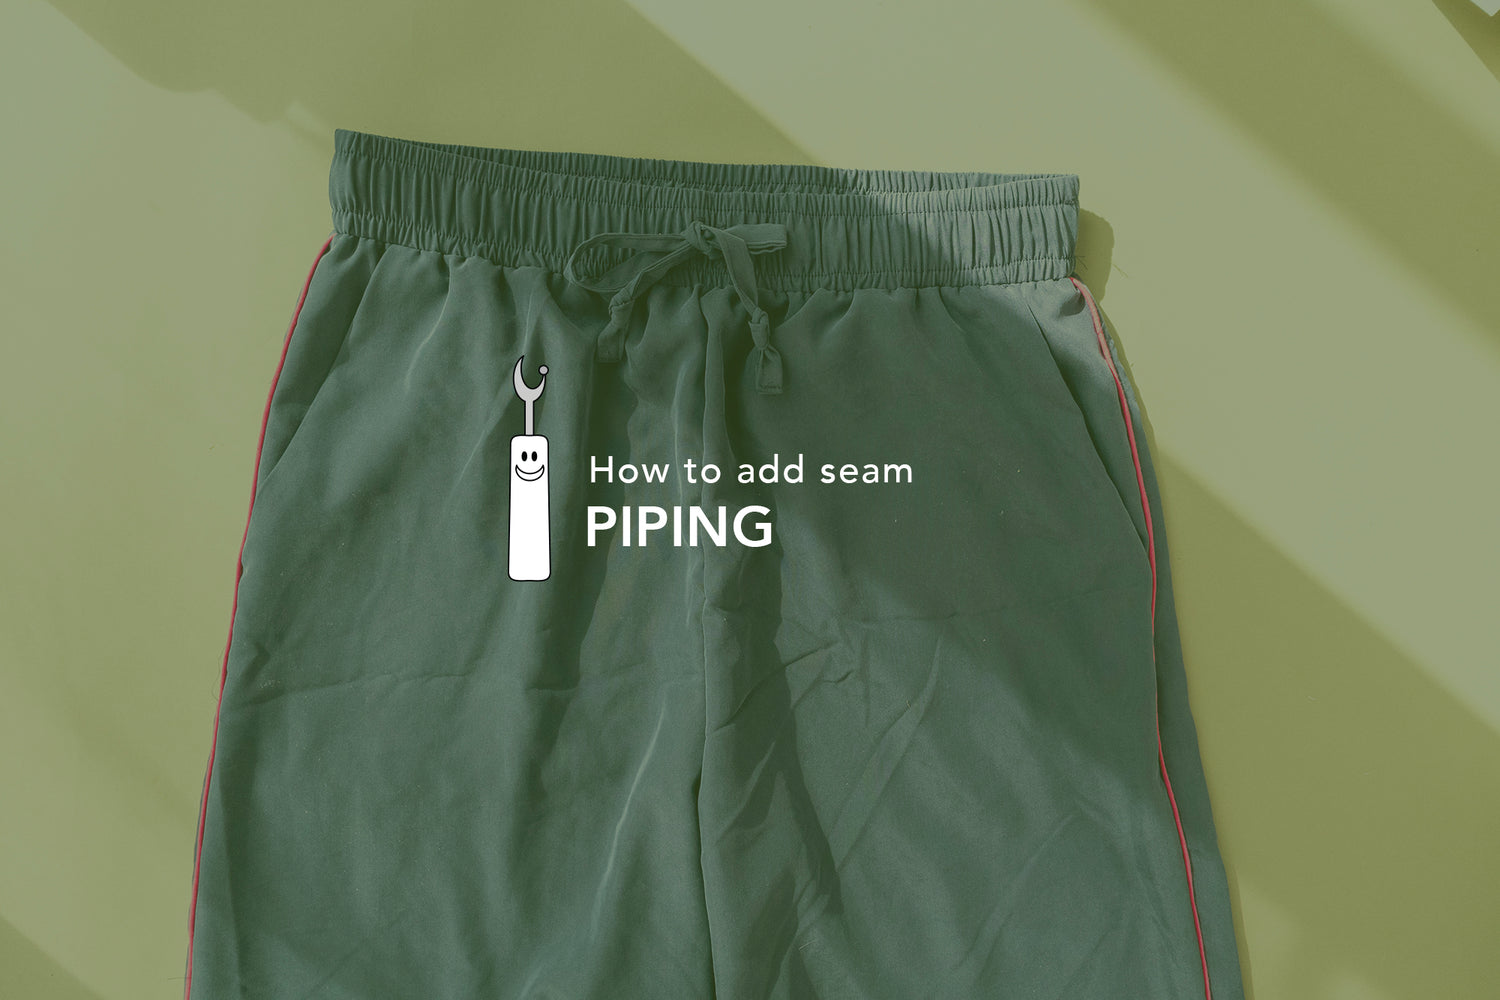
Adding piping into seams is a great way to show off interesting style lines or add interest to simple garments. It's really easy to do and gives your me-mades a unique, professional, and elevated look. Continue reading to find out more.
What you need:
- Piping: You can purchase ready made piping which is a lot easier to use and comes in many colours and varieties. The piping in this tutorials is a simple cotton piping from Amazon. You can also make your own if you have a specific fabric or shade you need.
- Zipper sewing machine foot: The piping is sewn on using a zipepr foot, either a standard zipper foot or invisible zipper foot will work fine. An invisible zipper foot will mean you can get really close to the piping and create a really tight finish to the seam, but I show using a standard zipper foot to show how you can achieve it still!
- Chalk or fabric marking pen: Your usual method of marking on projects so chalk or a pen.
Method:

When you know what seam you will be adding the piping to, lay the piece flat and measure out the piping against it, cut it a little longer then the seam.

Much like a zipper, you want to pre-press the binding to 'open' out the chunky side of the binding and excess fabric, so it's nice and flat.

Use a ruler or measuring tape and mark a line (or dot markings along the seam) where the seam allowance is on the right side of the fabric. In this case for the Saguaro pants it is 1cm, so I used chalk to mark 1cm from the seam edge so I had reference markings where I will need to sew the leg pieces together. As the front piece has pockets on the side seam, I chose to add the piping to the back leg pieces on the side seam, so I didn't have to content with the thick pocket laters.

Pin the binding in place on the side seam, overlapping the thicker edge of the binding to your seam allowance line, so that it is facing inwards, and the excess fabric of the binding is facing outside. As you can see by the photo this doesn't 'meet' up to the seam edge, which is why it's important to mark on your seam allowance and follow that as reference. The aim is to have the binding poking out of them seam.

Using your zipper foot, baste the piping in place as close to the thick piping edge as possible, but leave a 1 or 2mm space from the seam allowance as this will be stitched when putting the piece together.

Pin front and back pieces together at the side seams (if making the Saguaro pants like photographed, make sure the pockets and everything is done on the front pieces). Pin together right sides together, sew using the zipper foot, taking your time making sure to sew as close to the piping as possible.

& that's it! Once you finish sewing and turn the right way you are left with gorgeous neatly sewn piping seam details! The perfect way to add interest to your garments, and create an elevated look to your makes. accentuate interesting seam details or simple seams, you will want to add piping to everything!


Leave a comment
This site is protected by hCaptcha and the hCaptcha Privacy Policy and Terms of Service apply.