In this blog post we are showing how to hack the Heather Blazer sewing pattern to create an un-lined cropped version. Continue reading to find out how!
What you will need:
- Heather Blazer Pattern
- Fabric
- Usual sewing materials
- Optional: Bias binding (for finishing the seams, or your usual finishing method).
- Iron on interfacing (although I didn't use it in this version as the fabric was already quite stable/thick).
Pattern Amendments:
Cut all the main fabric pieces apart from the pocket - The length of the front A, back B, and front facing C pieces with depend on where your natural waist sits. I took this up by 8 inches but ended up taking off another 1 inch once I started sewing it together and fitting it. A good way of testing the length is to hold the paper pattern piece up to your body and marking your waist with a pen, then add 1 inch seam allowance.
The interfacing was omitted for this version but if you wanted more structure you could add it to the Front Facing (C) and collar pieces.
Front (A) - Cut 2 - Cropped Length

Back (B) - Cut 1 on fold - Cropped Length, square off the center back and remove seam allowance. Cut your back piece on the fold.
Front Facing (C) - Cut 2 - Cropped Length
Under Collar (D) - Cut 2 on bias Upper - Remove seam allowance and cut on the fold
Collar (E) - Cut 2 - Remove seam allowance and cut on the fold
Upper Sleeve (F) - Cut 2
Lower Sleeve (G) - Cut 2
Sewing Steps:
The steps for sewing the blazer together are pretty much the same as the instructions, it alters a little when it comes to sewing the collar and facing to the jacket.
As the blazer is un-lined it's a good idea to finish the edges in a neat way. Finishing seams with bias binding is always a lovely finish, and you can choose a color to compliment or contrast the fabric, making it a great design element. As the fabric has lovely pastel tones, I chose a yellow bias binding to contrast and add a cute design flare.
Once the shoulders, side seams and sleeves are sewn together as per the instructions, it's now time to move onto the collar and facing which differs slightly from the instructions.
Step 13 and 14 of the instructions is the same apart from the fact the under collar was cut on the fold so it's sewn on as one straight piece. Skip step 15.
The upper collar is sewn directly to the front facing pieces (these usually would have been attached the the lining pieces). Use the dot marking on on the collar to match up where to pin them.
The shoulder seam of the facing needs to be ironed under 1cm, and pinned to the collar retaining the fold (like in the photo above).
Also iron the inner edge of the facing under 1cm, as this will later be pinned and edgestitched onto the Front A piece of the blazer.
Once the outer collar and both facing pieces are sewn together, iron the seam towards the collar, including the section of fabric between each facing.
Pin the facing and upper collar right sides together to the front A, Back B and under collar pieces. matching up the outer edge of the collar, and centre front and facing seams - Pin the ironed edge of the facing to the hem of the blazer retaining the folded edge (as seen in the photo below). Stitch all the way around, pivoting around the collar.
If you want to have a matching bias bound edge for the hem (which is seen inside) you would need to stitch this on the hem after this step).
As per the instructions, trim or grade seam allowance and clip corners before turning to the right side. Give the seam a nice press ready for the next step.
Once that seam is ironed, pin the facing and collar in place along those pre-folded edges. If you're wanting to add a woven label to your blazer, this is a great time to pop it in the collar seam at the central point.
Stitch all the way around, close to the edge.
To hem the bottom, I added bias binding to the edge before top stitching the facing and collar in place, and then folded it up by 1 inch. Top stitch the hem in place.
Optional: Add a button hole and button to the bottom of your centre front. As it came up a little big for me, I added 2 button holes to create a kind of double breasted look.
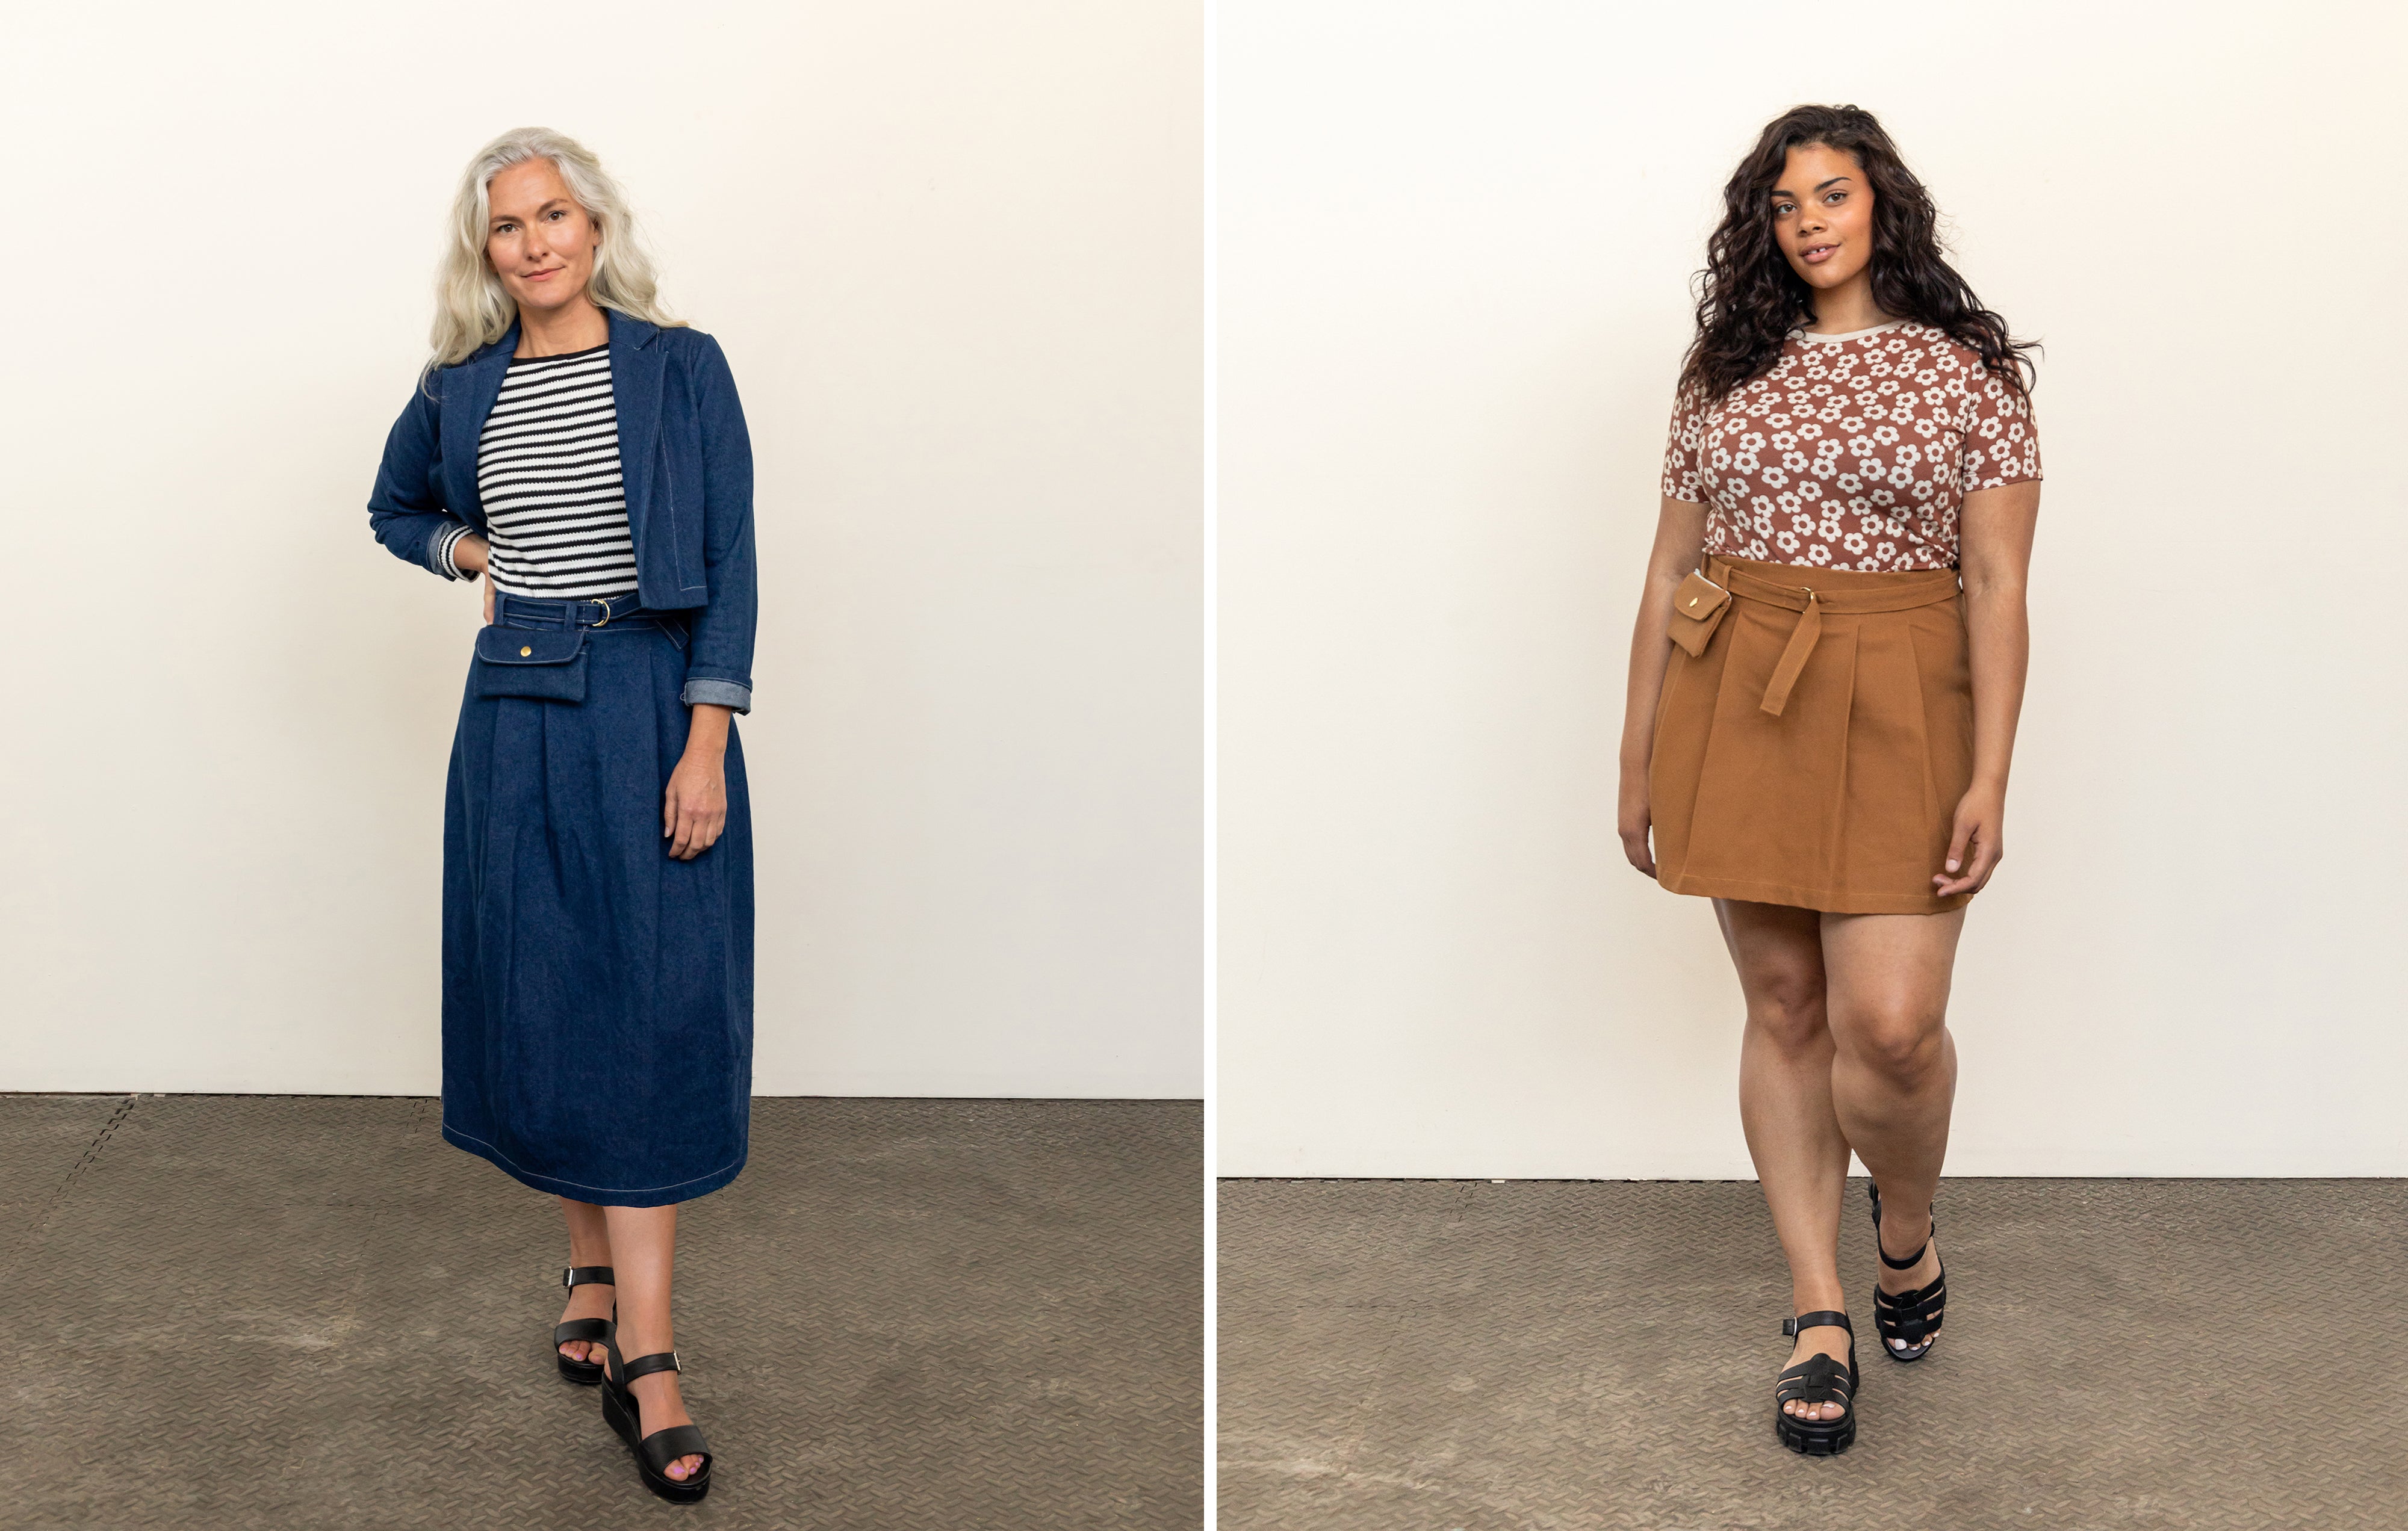
That's it! It's actually a pretty simple hack. Once you get your head around the facing and upper collar part of the hack, it comes together really quickly. The beauty of a cropped and un-lined Heather Blazer is being able to wear it in the warmer months as a layering piece. It's a great make to wear with matching pants or skirt - or over a dress!
What do you think? Will you be making this cropped Heather Blazer? If you do, make sure to tag us on social media. @fridaypatterncompany #HeatherBlazer


Leave a comment
This site is protected by hCaptcha and the hCaptcha Privacy Policy and Terms of Service apply.