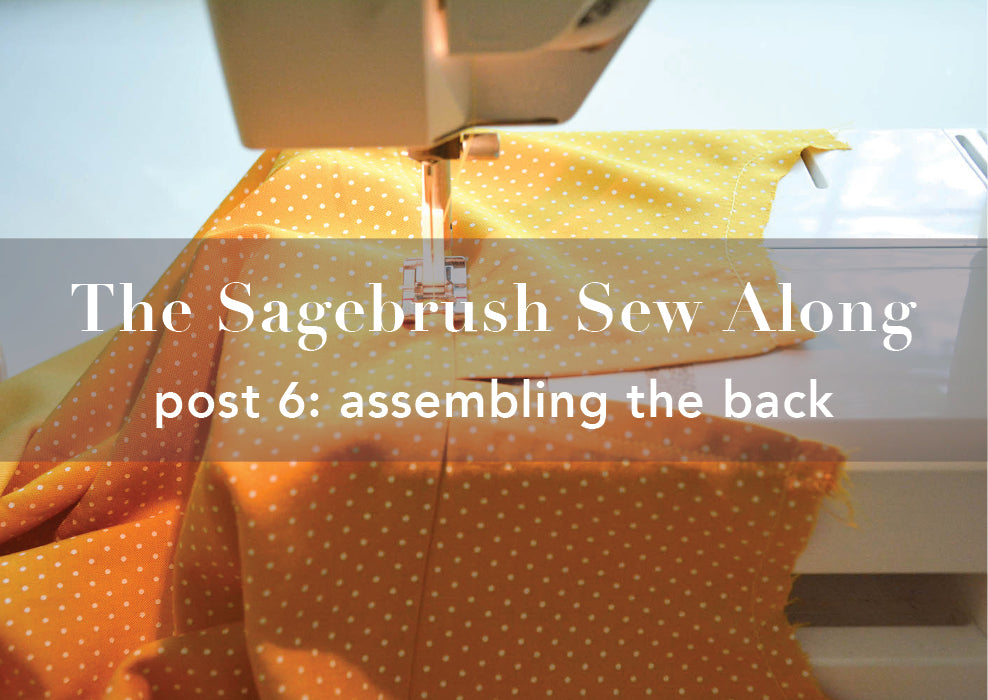
In this post we will be going over how to assemble the back of your Sagebrush Top!
Let's get started. Grab your Back Yoke (E) pieces. Fold the inside edge under 1/2”(1.27 cm) and press. Fold it under another 1/2”(1.27 cm) and press/pin it in place. Repeat on the other side.

Once you have your edges folded under, stitch 3/8”(.97 cm) from the folded edge of your fabric. Repeat on the other side.

Right sides together, pin your yoke pieces to your Back Body (F) piece. There should be a notch at the center back of your body piece, that is where the yokes meet up.

Stitch across your back. Finish the seam. Press the seam allowance downward and the yoke upward.


The last step for the back is to topstitch the back yoke. Stitch 1/8"(.3 cm) from the seam on the Back Body (F). Make sure that you are catching the seam allowance with your topstitch. This will hold the seam allowance in place so it doesn't peek out in between your back yokes!


Leave a comment
This site is protected by hCaptcha and the hCaptcha Privacy Policy and Terms of Service apply.