We have assembled the front and the back of our Sagebrush and now it is time to join it all together to make our shirt. This post will be a quick but satisfying part of the process!
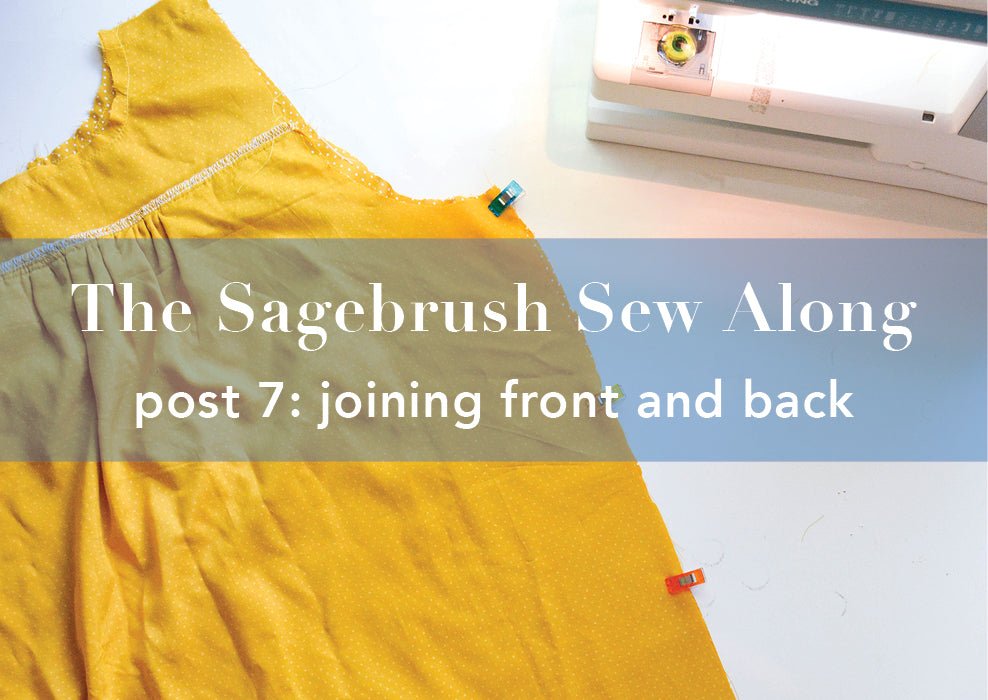
Right sides together, pin your front to back at shoulders. Stitch, finish seam allowance, trim away excess. Press the seam allowance open or if you finished your seam so that it is joined together, press the seam allowance towards the back. Repeat on both shoulders.

Now we join our shirt together along the sideseams. Right sides together, pin your front to back at side seams. Stitch, finish seam allowance, trim away excess. Press the seam allowance open or if you finished your seam so that it is joined together, press the seam allowance towards the back. Repeat on both sides.
You may notice that the shoulder seam is still unfinished in the picture below. You can hold off to finish your seams until you have sewn your shoulders and sideseams. It is quicker to batch sew your finishes especially if you are using a serger since it requires moving over to a different machine. As long as the seams you are sewing don't cross each other, waiting to finish seams won't be a problem!

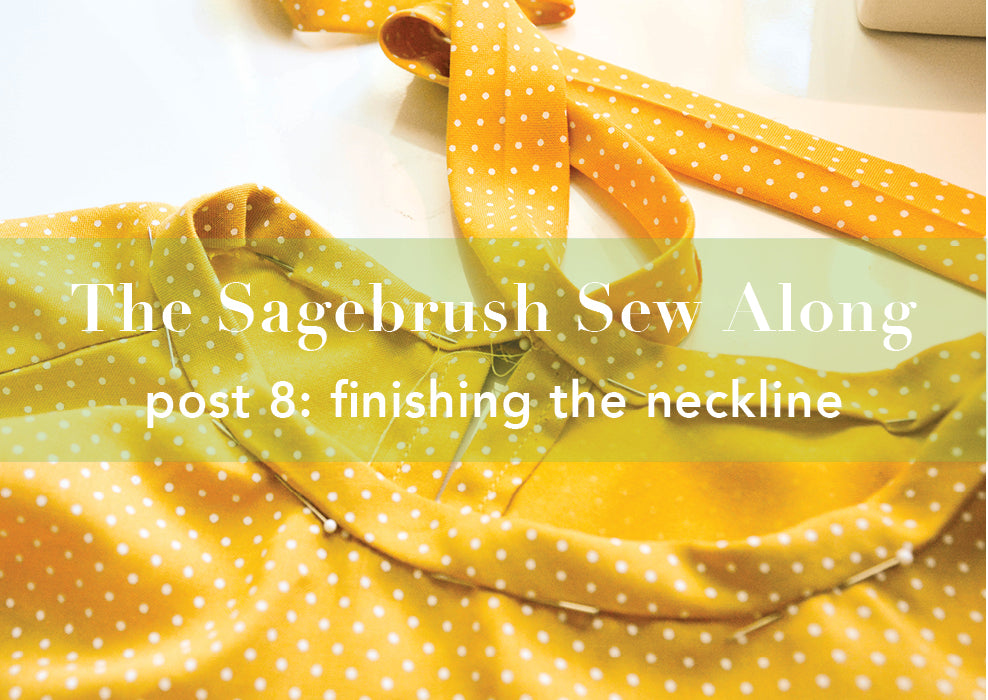
Once you have your shoulder and side seams sewn and finished you are ready to move onto finishing the neckline! See you in the next post :)


Leave a comment
This site is protected by hCaptcha and the hCaptcha Privacy Policy and Terms of Service apply.