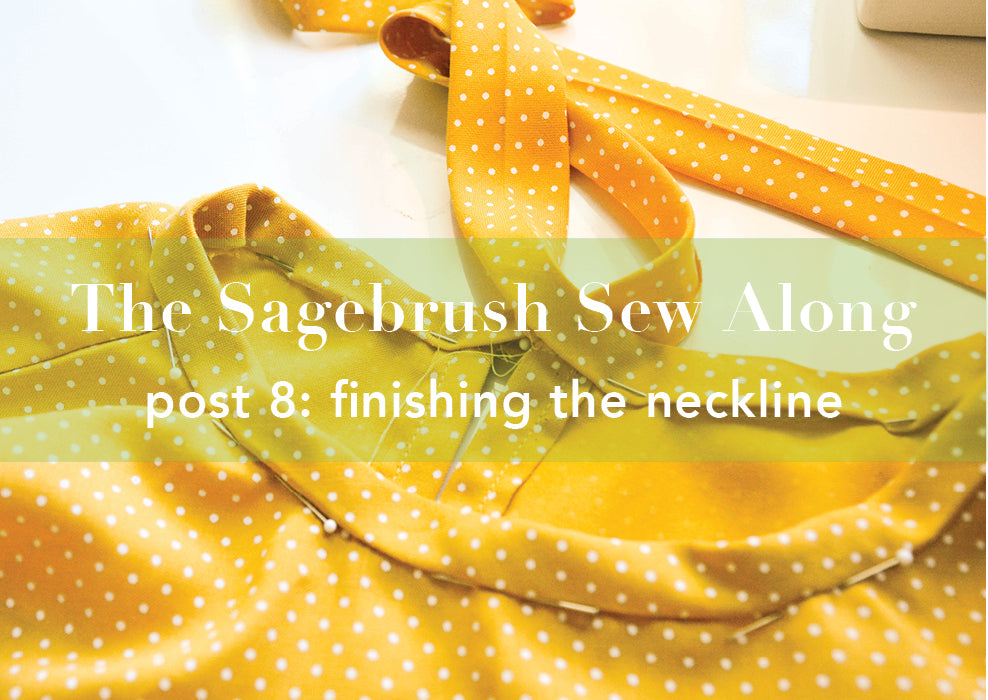
The neckline of the Sagebrush is finished with bias tape and ties in the back. In this post we will go over applying the bias tape to the neckline so that you get a clean finish.
First we will prep our binding. Take your Neckline Binding (D) piece and fold it in half lengthwise, wrong sides together. Press.

Fold in the raw edges so that they meet the center crease you just made. Press.

Fold it in half again encasing the raw edges that meet in the middle of your binding. Press. You now have a piece of double folded bias tape to finish your neckline with.

Find the center of your length of bias tape in by folding it in half and making a small mark. In the image below I placed a pin at the center point.

Take binding and open it up. Right sides together, match up with the raw edges of your neckline and binding. Start by matching the center of your tape with the notch at the center front of your neckline. Pin outward from your center front in both directions. You will have long tails on either side because this piece is your neck finishing and ties all in one!


Sew around the neckline 1/2” (1.27 cm) from the edge. You can follow the groove in the binding from where you pressed it.

Clip into the seam allowance around neckline. Be careful not to snip through the stitch you just made. This is important so that your neckline can lay flat against your neck.

Press the binding upward and fold it around the raw edge of the neckline. Pin it in place around your neckline so that the folded edge is just below the stitch you made in the last step. I use a fair amount of pins in this step because holding your binding in place is crucial.
I position the pins so that they are running along the neckline. If you pin so that the pointy end of your pin is pointed toward the presser foot as your project goes through the machine it will be easier to pull pins out as you sew. I always have to conceptualize this at my machine and still sometimes pin facing the wrong way but if you start from the left side of your project and place it so that the pin is pointing towards the left and head toward the right, you should be good!

Stitch in the ditch around the neckline. To “stitch in the ditch” you stitch on the right side of your garment keeping your stitch going along the “ditch” created by a seam you have already sewn. This makes it so that your seam is pretty much invisible on the outside of the finished garment.

Now we will sew up the ties. For the sewalong I am showing you an alternative way to finish the ends of the ties and sew them up all in one go! Press the end of the tie under. Trim away the corners so they don't stick out when you sew. Fold your ties in half and pin them so that the folded edges are matched up. Starting at the end of the tie, stitch 1/4” (.6 cm) from the edge all the way up to where the neckline starts. Be sure to backstitch at the beginning and end. Repeat on both ties.


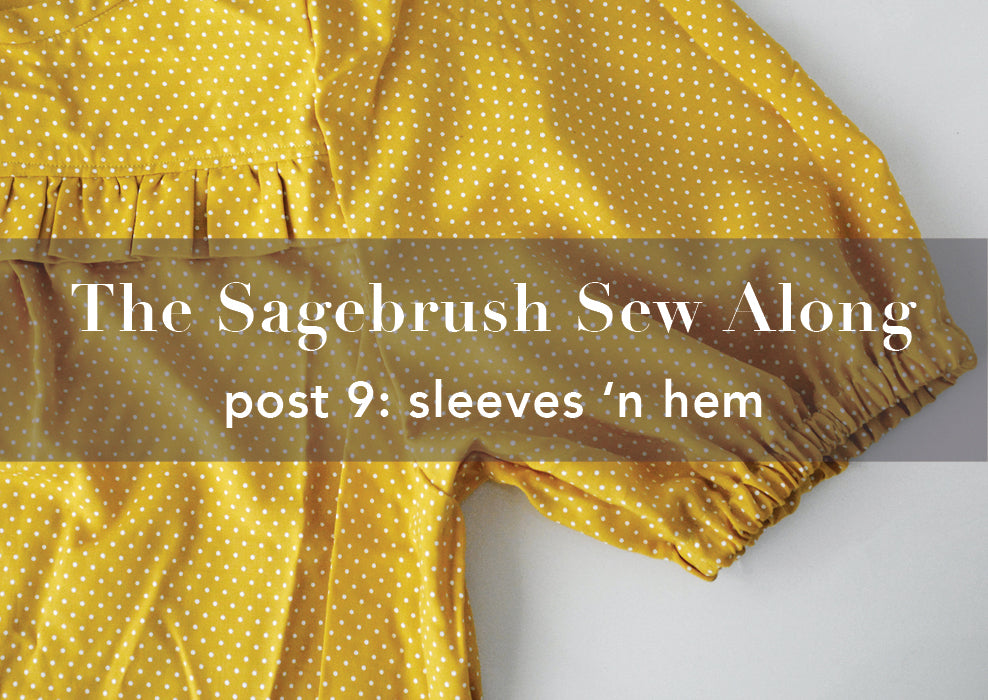
Now you have a gorgeous finish on your neckline that looks great on the inside and the outside! Next up we will tackle the sleeves.


Leave a comment
This site is protected by hCaptcha and the hCaptcha Privacy Policy and Terms of Service apply.