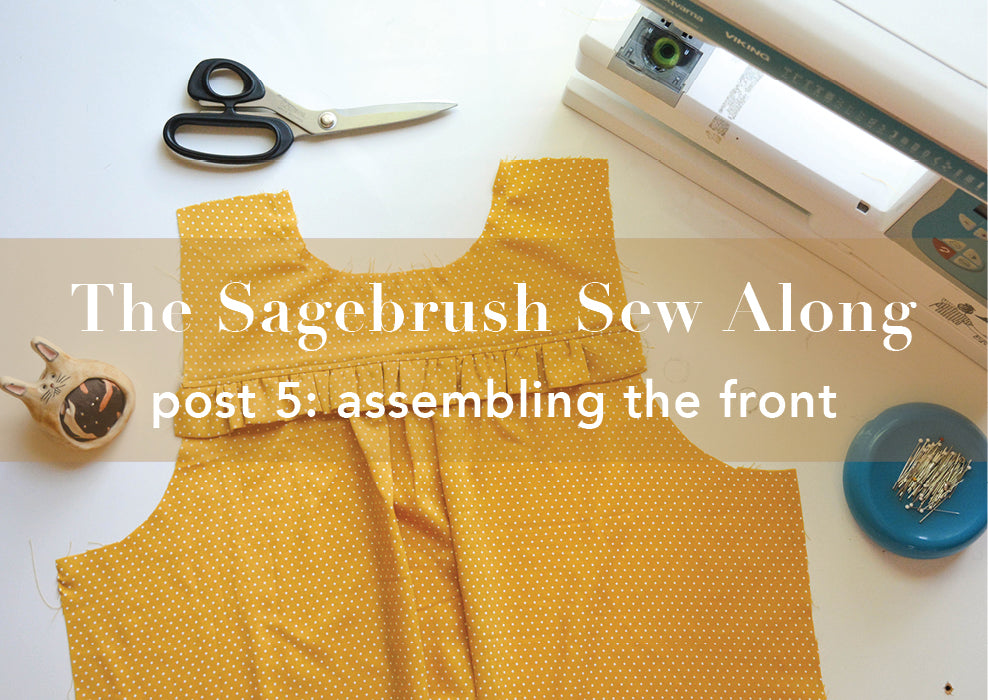
Time to sew! In this post we will go over assembling the front of the Sagebrush.
The first thing we are going to do is stay stitch the necklines to keep them from stretching out as we sew. Stay stitching is done on rounded areas of unsewn pieces to keep fabric from distorting. Use a long straight basting stitch and sew 1/4-1/2” (.6-1.27 cm) from the edge of the fabric on your Front Yoke (A) and Back Yoke (B) pieces.

Now we will set our yoke pieces aside and prep the chest ruffle! Grab your Ruffle (C) piece and press it in half lengthwise, wrong sides together.


The ruffle gets gathered up before it is attached to the yoke. Using a long straight stitch (recommended length 3.5-4 mm), stitch 1/4” (.6 cm) from the raw edge of your fabric through both layers. Sew a second line of long straight stitches 1/4” (.6 cm) from your first row of stitches.


Having two rows of stitches stabilizes the gathers so that they are easier to distribute. It also helps them lay flatter making it easier for them to be sewn to something. I also think of the second row as an insurance policy; if one row of stitches snaps, you won't be completely lost!
Once you have your gathering stitches in place you can pull on the bobbin threads to start gathering the ruffle.

Continue to gather your ruffle until it is the same length as the bottom of your Front Yoke (A) piece. Once I get the right length I like to pin it in place on the yoke and move the gathers around with my fingers a little bit until they are distributed evenly.
Technically both sides of your ruffle are the right side of your fabric but if you have a side of your ruffle that you prefer, place that side face down on the right side of your yoke. Once your front is sewn together that side will show.

Push the gathers away from the edges a little bit as well. You have a 5/8" (1.6 cm) seam allowance on either end of your yoke and you don't want a bunch of gathers in your seam allowance.

Now we will baste the ruffle in place. A basting stitch is a type of stitch that is used to hold fabric in place before it is permanently stitched. Use a long straight stitch, baste your ruffle in place on the yoke 1/2" (1.3cm) from the edge of your fabric. Sew this step with your ruffles facing up, so you can control them as they go under the presser foot. It's the worst when you get a funny wrinkle or overlap that you don't notice until everything is finished!
Time to prep the Front Body (B) piece to be sewn to the yoke! Sew a long straight stitch (recommended length 3.5-4 mm), 1/4”(.6 cm) from the raw edge of your fabric between your notches. Sew a second line of long straight stitches 1/4”(.6 cm) from your first row of stitches. This is really similar to what we just did to the ruffle piece.

Just like we did with the ruffle, we are going to pull on the bobbin strings to gather the Front Body (B) piece until it is the same length as the yoke.

Right sides together, pin the yoke to the front body. Your ruffle will be sandwiched in the middle because it is basted to your yoke.

Here is what that looks from the other side:

Stitch your Front Body (B) and Yoke together. Just like with the chest ruffle, you will want to sew with the body facing up so you can keep an eye on the gathers as they go through the machine.
Finish this seam. There are a lot of ways to finish a seam. I am serging seams in this sewalong. I know that not everyone has a serger. This page outlines other seam finish options.

A quick aside about sergers: A serger is a really good investment if you are getting into sewing your own clothing. You can generally get a decent serger for $150-300. As I write this, a lot of mass market sewing machines are sold out because of COVID/mask making so it may not be a great time to buy one. A serger will save you SO MUCH time on seam finishes and will make your garments look really professional. I have a fancy serger that I got years ago that cost more than my car at the time! I also have a serger that I got off Amazon for $150. They are both great. The nicer one has some great features like air threading and coverstitching but the affordable serger is also amazing and totally does what it needs to do! Here is a link to the affordable serger I have. It is sold out right now but hopefully it will be back at some point. Okay, back to sewing.
After you have finished your seams, press your ruffle downward and the seam allowance upward. You have the option to topstitch above your ruffle. This anchors your ruffle a little bit but isn't completely necessary.
To topstitch, sew 1/8” (.3 cm) above your ruffle so that you are catching and holding your seam allowance in place underneath.

Yay! You did it! The front of your Sagebrush is complete! In the next post we will assemble the back.


Leave a comment
This site is protected by hCaptcha and the hCaptcha Privacy Policy and Terms of Service apply.