In this post we will go over a few things to keep in mind when cutting out your pattern.
Once you have figured out what size you are making, cut your paper pattern out along the line for your size. Use the cutting layouts in the instructions to pin your paper pieces to your fabric. There are a few things to keep in mind:
Each pattern piece tells you how to cut it out! In the image below, you can see (underlined in red) how/how many to cut of each pattern piece. For example the Front Yoke A piece:
- How many: 1
- How: on fold
In the green oval you can see a reference for how the pattern piece will line up with the grain of the fabric.

For any piece that you are cutting 2 of, you need to cut a pair. In other words, you want a right and left sleeve, not two right sleeves.
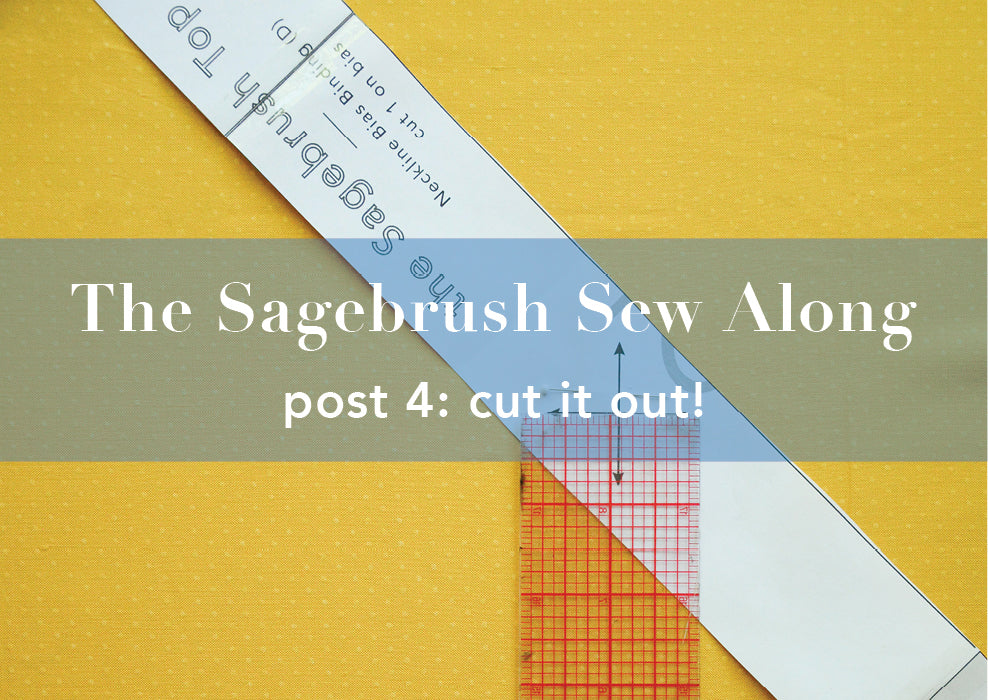
You'll notice two intersecting arrows on the neckline binding. That is because the neckline binding is cut on the bias. This is so that it will lay flat once you sew it around a curved edge. If you want to use pre-made bias tape, this piece is 40"(102cm) long and 1/2"(1.3cm) wide when folded. To get your piece laid out perfectly on the bias, use a ruler to make sure that one of the arrows is perfectly parallel to the selvage of the fabric.

As you are cutting you should snip in 1/4"(.6cm) at each notch. Notches are used as reference points when you are sewing your pattern together. They look like little triangles on the edges of the pattern pieces.
If you see a double notch, make two 1/4"(.6cm) snips. Double notches are used when there are multiple notches on a piece or to distinguish between the front and back of a garment.

Once you're done cutting out your pattern we can finally move onto the fun part: sewing!


Leave a comment
This site is protected by hCaptcha and the hCaptcha Privacy Policy and Terms of Service apply.