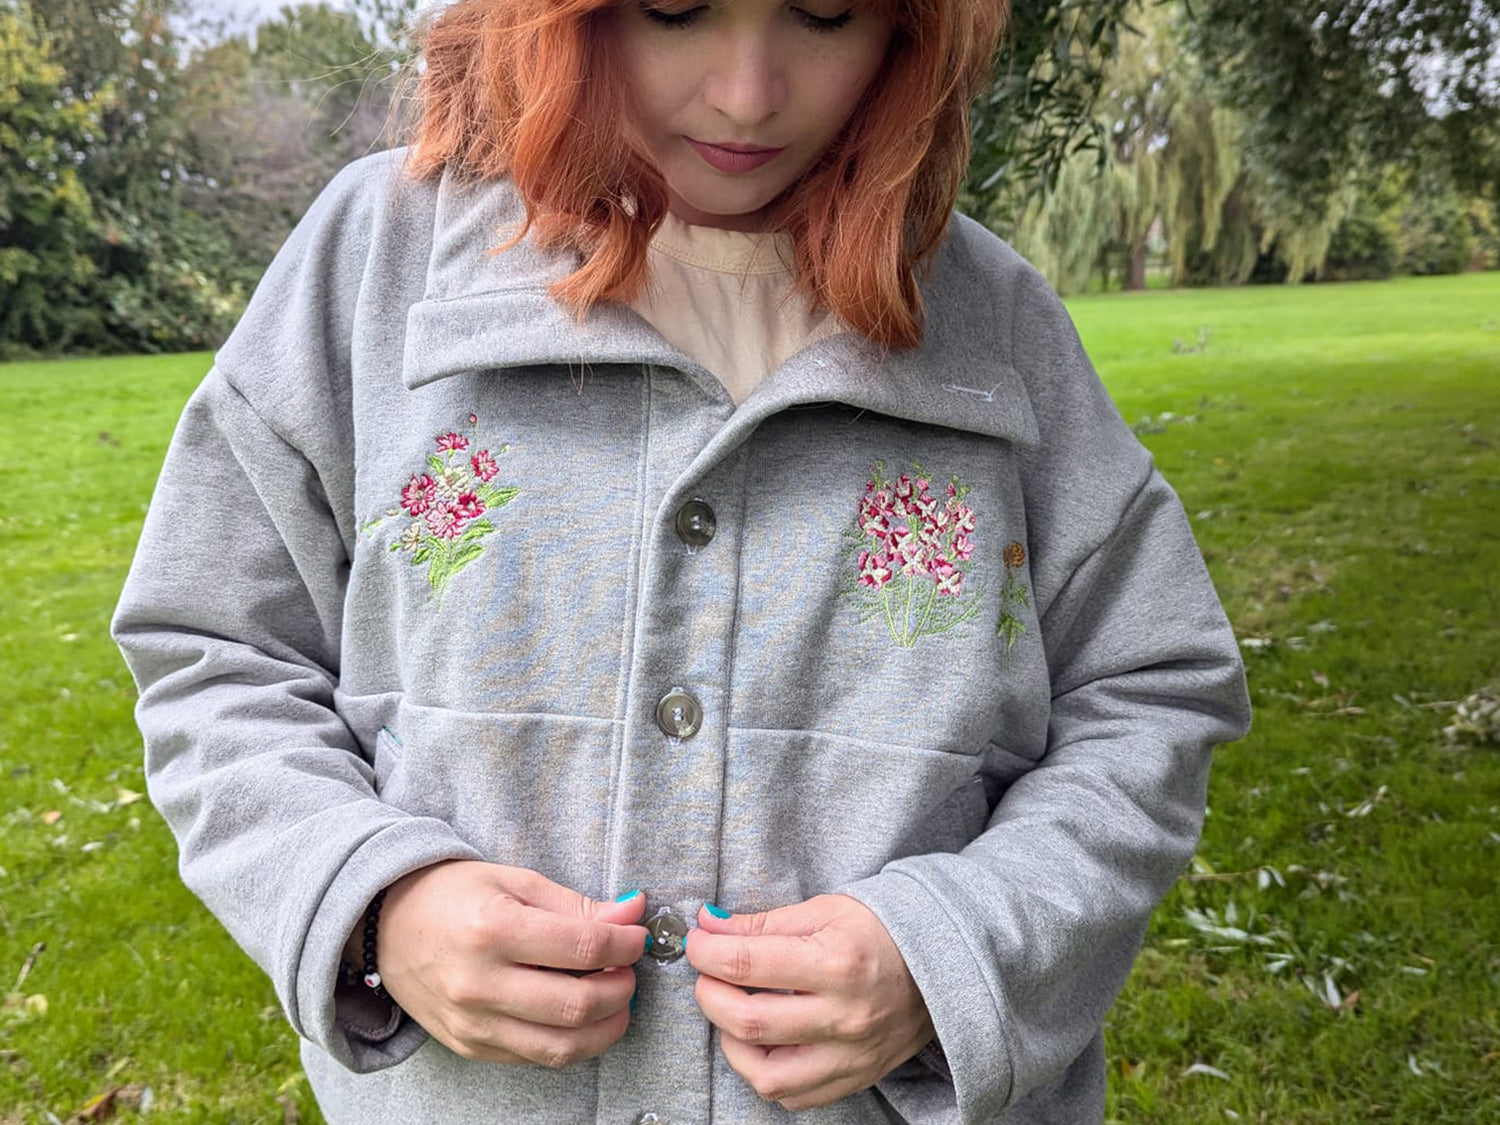
If you’re a fan of the Pogonip Pullover pattern, you’re going to love this easy sewing hack that transforms the cozy pullover into a button up front. With just a few simple adjustments, you can take this staple and give it a whole new vibe! In this post we talk through what you will need, pattern modifications, and the extra sewing steps required to make it as a button up front.
What you will need:
- Pogonip Pullover Sewing Pattern, shop here.
- Fabric of choice, I am using a low stretch sweatshirt fabric.
- Buttons, I have 6 20mm buttons.
- Lining fabric for the inside, something lightweight woven.
- All your other usual sewing notions, machine, scissors, etc!
Pattern modifications:

Front A - Add on 3cm (roughly) to the front (to match up with lower B)
Lower B - Keep as it is, but don't cut on the fold, cut X2
Placket D - Extend the bottom to be the same length as A and B together
Placket D - I also removed 3cm from the width of the placket to make it slightly thinner.
Band K - Cut one in the center, and add 1cm to each smaller edge to create 2 bands for the front.
Collar F - Add the same amount to each side of the collar, to match the amount you added to front A.


The measurements may differ slightly depending on the size you're making, but essentially you need to slash the front down the middle and extend the placket to make that the full length of the centre front.
Sewing steps:

Sew the lower front welt pockets as per the instructions but you will do this on the individual front pieces you cut, apposed to the one lower front of the pogonip instructions.

Sew the top front to the back at the shoulders, as per the instructions, and then sew the lower fronts to the top front pieces. Then add the lining to the lower front, sewing right sides together, turn the right side and then baste the rest of the lining around the other edges.

This is what that last step will look like with the lining in place.

Attach the collar to the neckline as per the instructions.

Press one long side of the pocket placket under by 1/4inch, and sew one small edge of the pocket placket folded right sides together, maintaining that folded edge under. Clip corners, and turn to the right side and give it a press. This step is the same as the instructions, but of course the placket is longer. Attach the button placket to the centre front, pin the raw edge of the placket (the one not folded under) to the front from the collar to the hem. Sew these together with your 1cm seam allowance, press that seam towards the placket, and then pin the other side of the placket over the top encasing that seam allowance inside. Edgestitch in place, by stitching in the ditch from the front.

Use a ruler to mark on the front where to place your buttons, I spaced mine 9cm apart. Sew the buttonholes using your sewing machines buttonhole foot.


Open up the button holes and sew the buttons in place on the other side. Sew on your hem band as per the instructions matching up the front pieces to the back piece at the small side seams. Press one edge of the band 1/4inch in the same way as the button placket, fold the small front edges right sides together keeping that folding edge and sew 1cm seam allowance. Turn this out the right way, and then pin the raw edge against the jacket, matching up the centre front placket to the centre front hem bands. Sew with a 1cm seam all the way around, then press the seam down, and pin the other edge of the placket on top to encase the seam, top stitch in place by stitching in the ditch.
Finished Jacket:


Leave a comment
This site is protected by hCaptcha and the hCaptcha Privacy Policy and Terms of Service apply.