Hey Everyone! I’m Romy-Krystal from @sewlike and it’s my absolute pleasure to be here on the Friday Pattern Company blog sharing my neckline hack for the updated release of the Hughes Dress Pattern!

The Hughes dress is a wardrobe staple. It can go from casual and chic to a night-on-the-town kind of dress just by varying your fabric choice! Now that’s the type of dress pattern I look out for. The best part of this release is the updated cup sizes (A/B and C/D). Chelsea truly spoils us all with her immense talent and conscious effort to make her patterns readily available for all of our beautiful shapes and sizes.

This simple hack came about because ‘the girls’ like to make an appearance from time to time if the neckline is too low. Now the great thing about this hack is that it's not just for the larger busted amongst us, it’s great if you just enjoy a little more coverage. So without further ado, let’s get started!

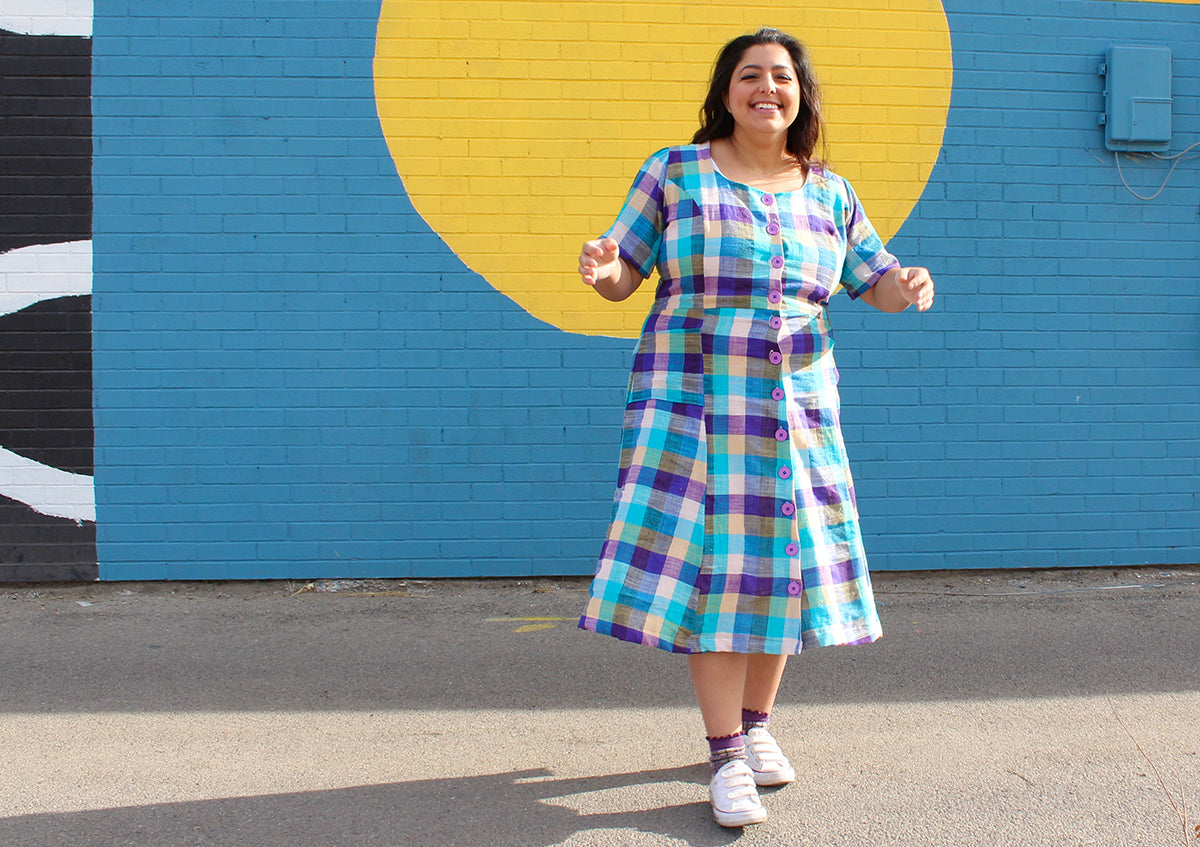
NOTE: For my Hughes Dress I chose the size XXL and added 1.25” to the centre front bodice and centre front skirt pieces. My measurements put me in between sizes so I went with this option after my toile. However, next time I’m probably going to go up one more size since there’s still a little pulling across my bust.
What you’ll need:
- Tracing Paper or any paper you have on hand
- Pencil
- Ruler or sewing gauge
- French curve
- Tape
- Front Bodice Pattern Piece
- Scissors
- Muslin (Optional)

Instructions:
1. Locate your Front Bodice pattern piece and tracing paper. Overlay your pattern piece on top of the tracing paper. 
2. Tape your pattern piece to the tracing paper around the neckline.
3. Using your sewing gauge or ruler, mark little dots at different parts of the neckline with the amount you would like to add. NOTE: The seam allowance for this pattern is ⅜”. Taking this into consideration, I decided to add ⅝” to my neckline.

4. Using your french curve connect the dots that you had marked in step 3. NOTE: Be sure to blend your new neckline curve into the existing one about 1-1.5” to the shoulder seam. If you don’t do this, you will need to update shoulder seams on the back bodice too.

5. Using your scissors cut off the excess tracing paper. Your pattern piece has now been updated! If you’d like to double check if you are happy with your changes, move to step 6.

6. Gather all your bodice pieces and cut these out using muslin. Baste all necessary seams together.
7. Mark the ⅜” seam allowance on the neckline and try on your bodice. If you’re happy with where it sits then you’re done! If not, repeat from step 1 again and add onto your existing tracing paper.

That’s it! You’ve successfully altered your neckline! Go you!!!

I LOVE my new Hughes dress and it’s definitely a dress that I will wear all the time. I purposely went for an Ace and Jig vibe with this lightweight linen but honestly I’m not going to stop till I have an army of Hughes. What are you waiting for? I think your sewing machine is calling you…


Leave a comment
This site is protected by hCaptcha and the hCaptcha Privacy Policy and Terms of Service apply.