
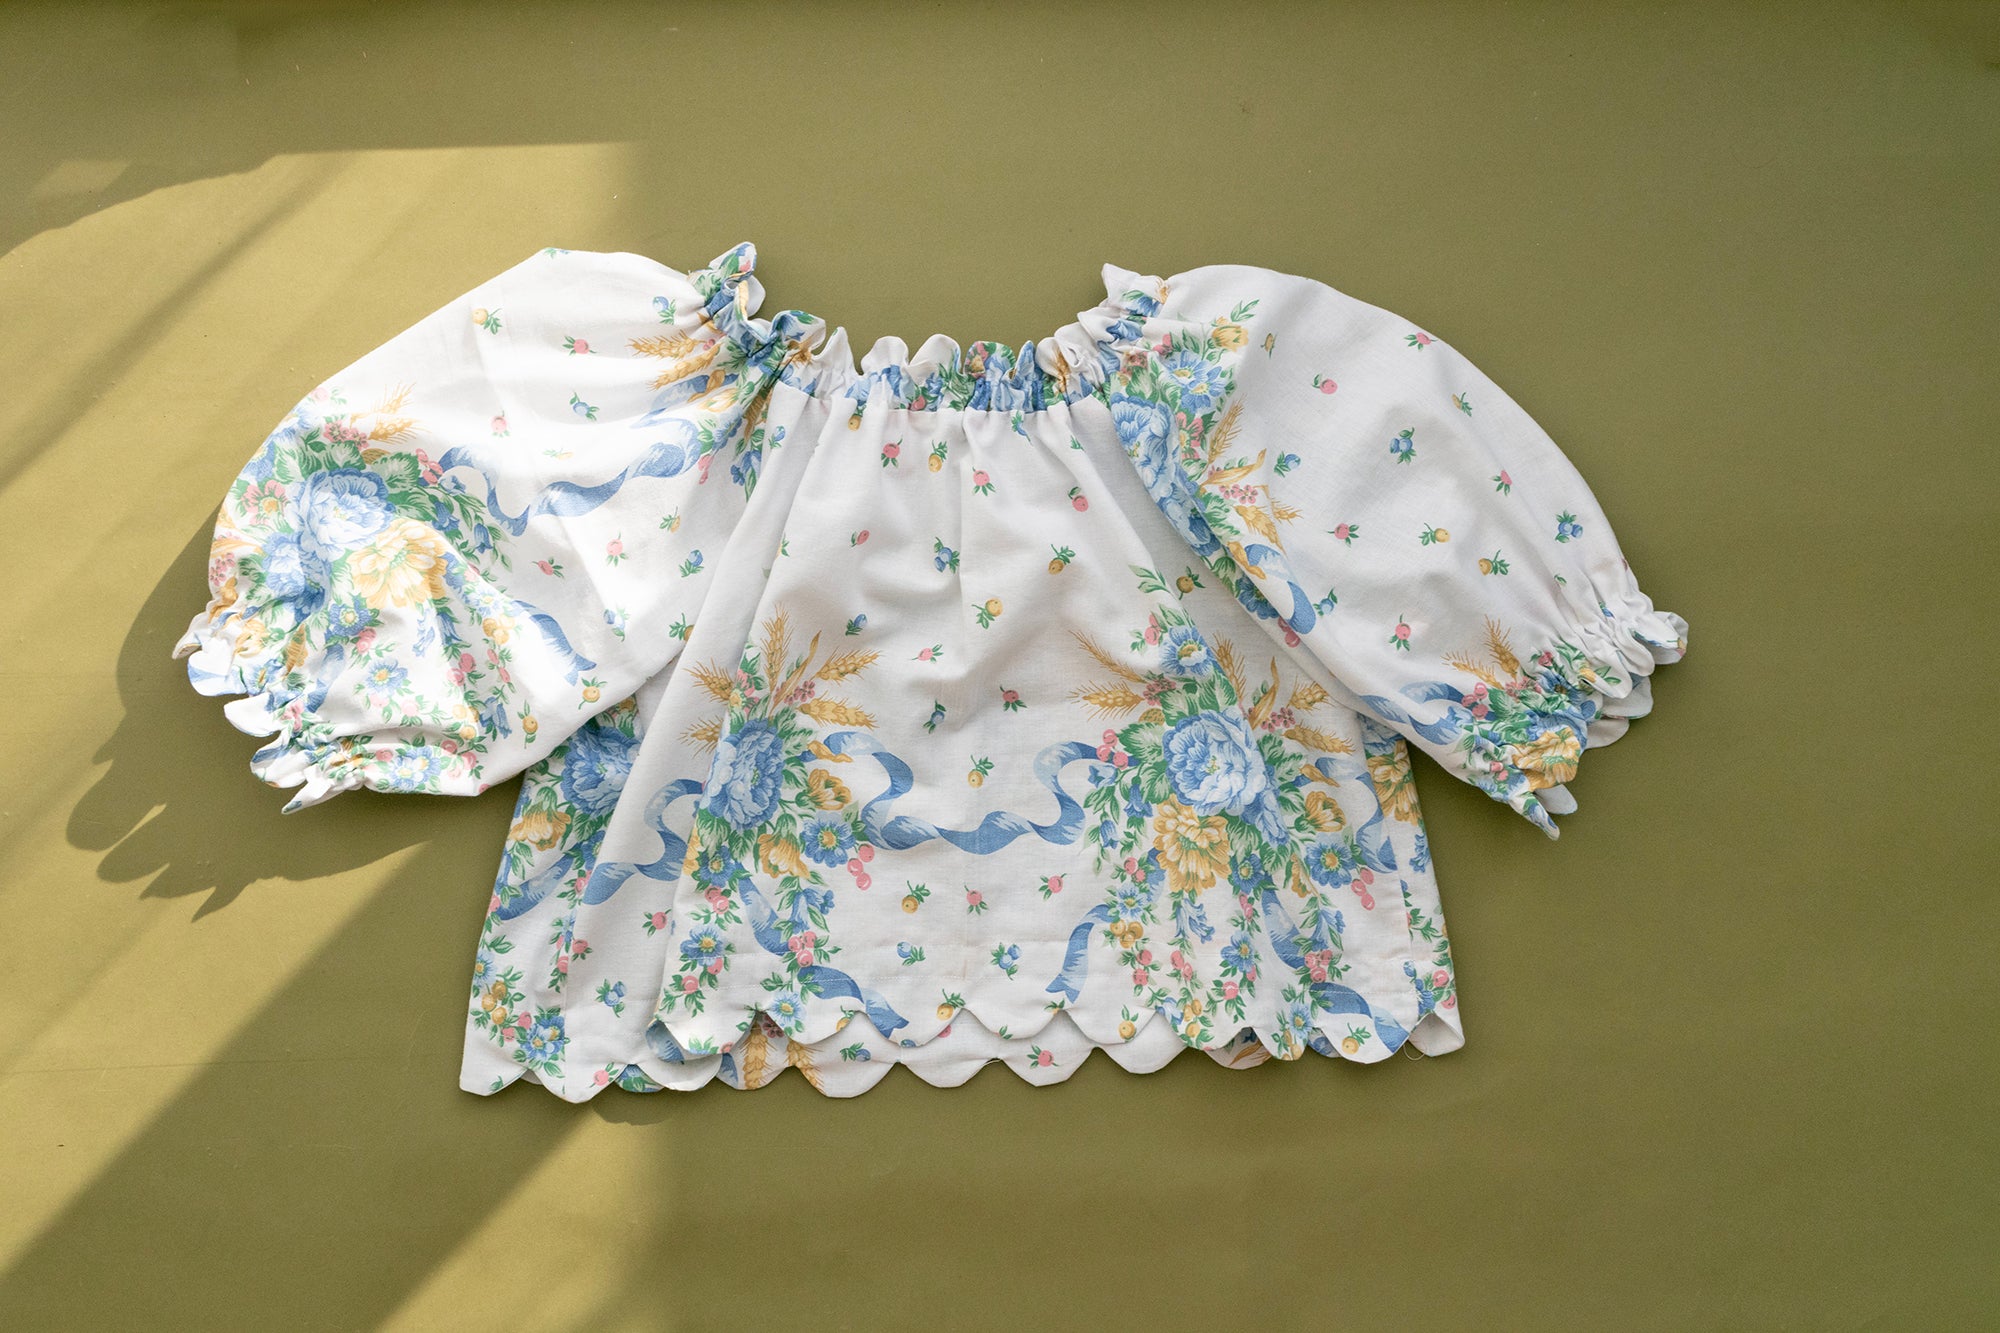
The Avenir Jumpsuit can be easily hacked into a dress and I have several I want to make for spring and summer! For this dress I added a neckline flounce, ruffled sleeve hem, and a skirt with a gathered tier. In this post I will walk you through creating new pattern pieces and how to sew them.
I made a size medium. My full bust measurement is 39”, waist 29”, hips 40”. I’m 5’6” tall.

Pattern adjustments:
- Shortened Pieces A and B by 1”
- Cut 2” below short sleeve line
Pattern pieces created:
- Neckline Flounce
- Skirt front and back
- Gathered tier pieces

Creating the Neckline Flounce:
- On a piece of paper draw a rectangle. The length will be the same length as your Neckline Casing D piece. The width will be the width you want your flounce to be + ⅝” for seam allowance and ½” for the hem. My flounce is 3.5” wide so the width of my rectangle was 4 ⅝”.

- Cut out the rectangle and fold it in half. Fold it in half again to create 3 equidistant creases.
- Slash up all 3 creases, almost to the top without snipping through.

- Spread the pieces to add the desired amount of fullness (I added 1” to each slash). The more you add the more flouncy your neckline will be!
- Tape a scrap of paper in place behind your new openings.
- Smooth out the lines of your new pattern piece.

- Add the notch at the center of your flounce back if you lost it in the pattern adjustments.
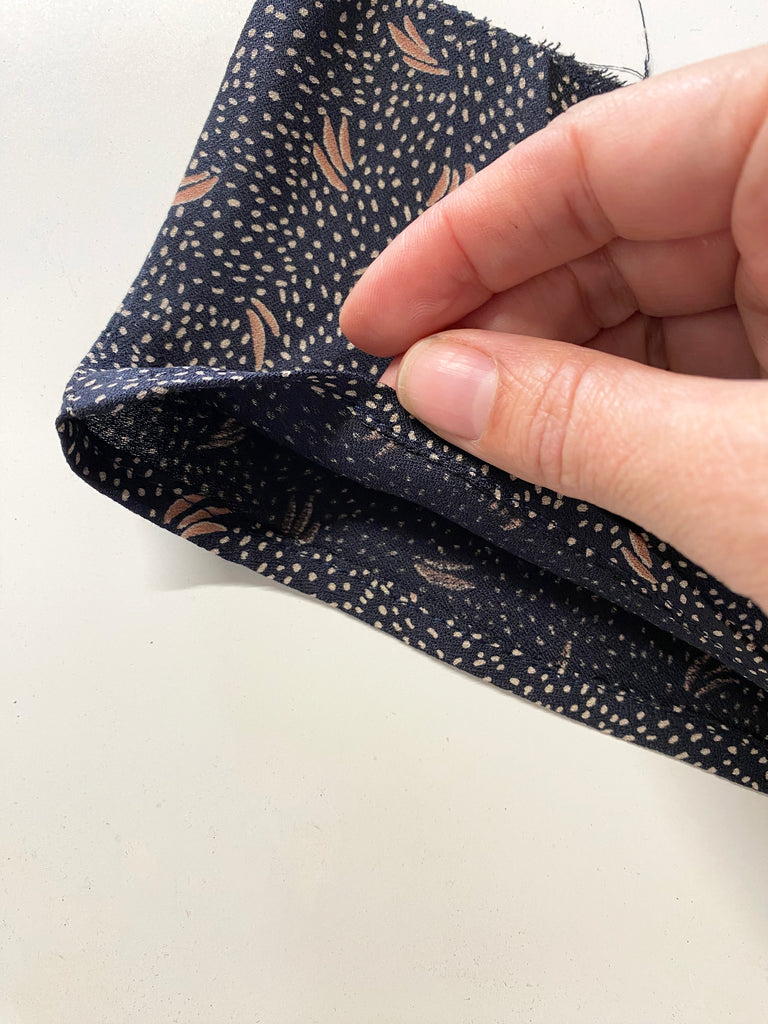
- Cut 2 Neckline Flounces (1 pair) from your fabric.
Sew neckline flounce:
- With right sides together (RST) sew the short edges of your neckline flounce. Press, finish seams.

- Fold the hem edge (un-notched edge) under ¼” and press. Fold under another ¼” and press. Edgestitch hem in place
- Follow steps 1-3 in the instructions.
- With the wrong side of the flounce facing the right side of your bodice, pin your neckline flounce in place matching notches. The seams on the flounce match up with the notches on the sleeve. Baste flounce in place around the neckline.

- Continue to follow the sewing instructions!

Create Skirt pieces:
- On a piece of paper draw a rectangle. For your skirt front, the width will be the width of your Waistband Casing Front (H). For your skirt back, the width will be the width of your Waistband Casing Back (I).The length will be the desired length of your skirt + 1 ¼” (⅝” seam allowance x2)

- Cut out the rectangle and fold it in half and in half again to create 3 equidistant creases.

- Slash up all 3 creases, almost to the top without snipping through.
- Spread the pieces to add the desired amount of ease (I added 1/2” to each slash).

- Tape a scrap of paper in place behind your new openings.
- Smooth out the lines of your new pattern piece.
- Add notches at the center front and center back of the waistline.

- Cut 1 front and 1 back from fabric.
Sew Skirt pieces:
- Complete steps 1-10.
- With RST, sew skirt front to back along side seams. Finish seams, press toward back.
- With RST, pin bodice to skirt at waistline (make sure you’re sandwiching the casing in the middle) matching side seams, and aligning the front and back pieces. Stitch. Finish seam allowance. Press seam toward skirt.
- If you aren’t adding a gathered tier you can now hem your skirt. If you are adding a gathered tier that will come next!
Gathered hem tier:
We go over how to create gathered tier in this article. I made my tier 9” tall.

Sleeve Hem:
- Draw a guideline for your elastic placement on the wrong side of your sleeves. I did this by measuring and marking 4” up from the raw edge of the sleeve.
- Fold the hem under ¼” and press. Fold under another ¼” and press. Edgestitch the hem in place.
- Pull a piece of elastic around your bicep and tighten it to where it feels comfortable. Add 1” and cut. Pin elastic in place along the line you marked on the wrong side of your sleeve. Sewing on top of the elastic, zig zag stitch it in place. You will need to stretch the elastic as you sew.
- Repeat these steps on both sleeves.


Leave a comment
This site is protected by hCaptcha and the hCaptcha Privacy Policy and Terms of Service apply.