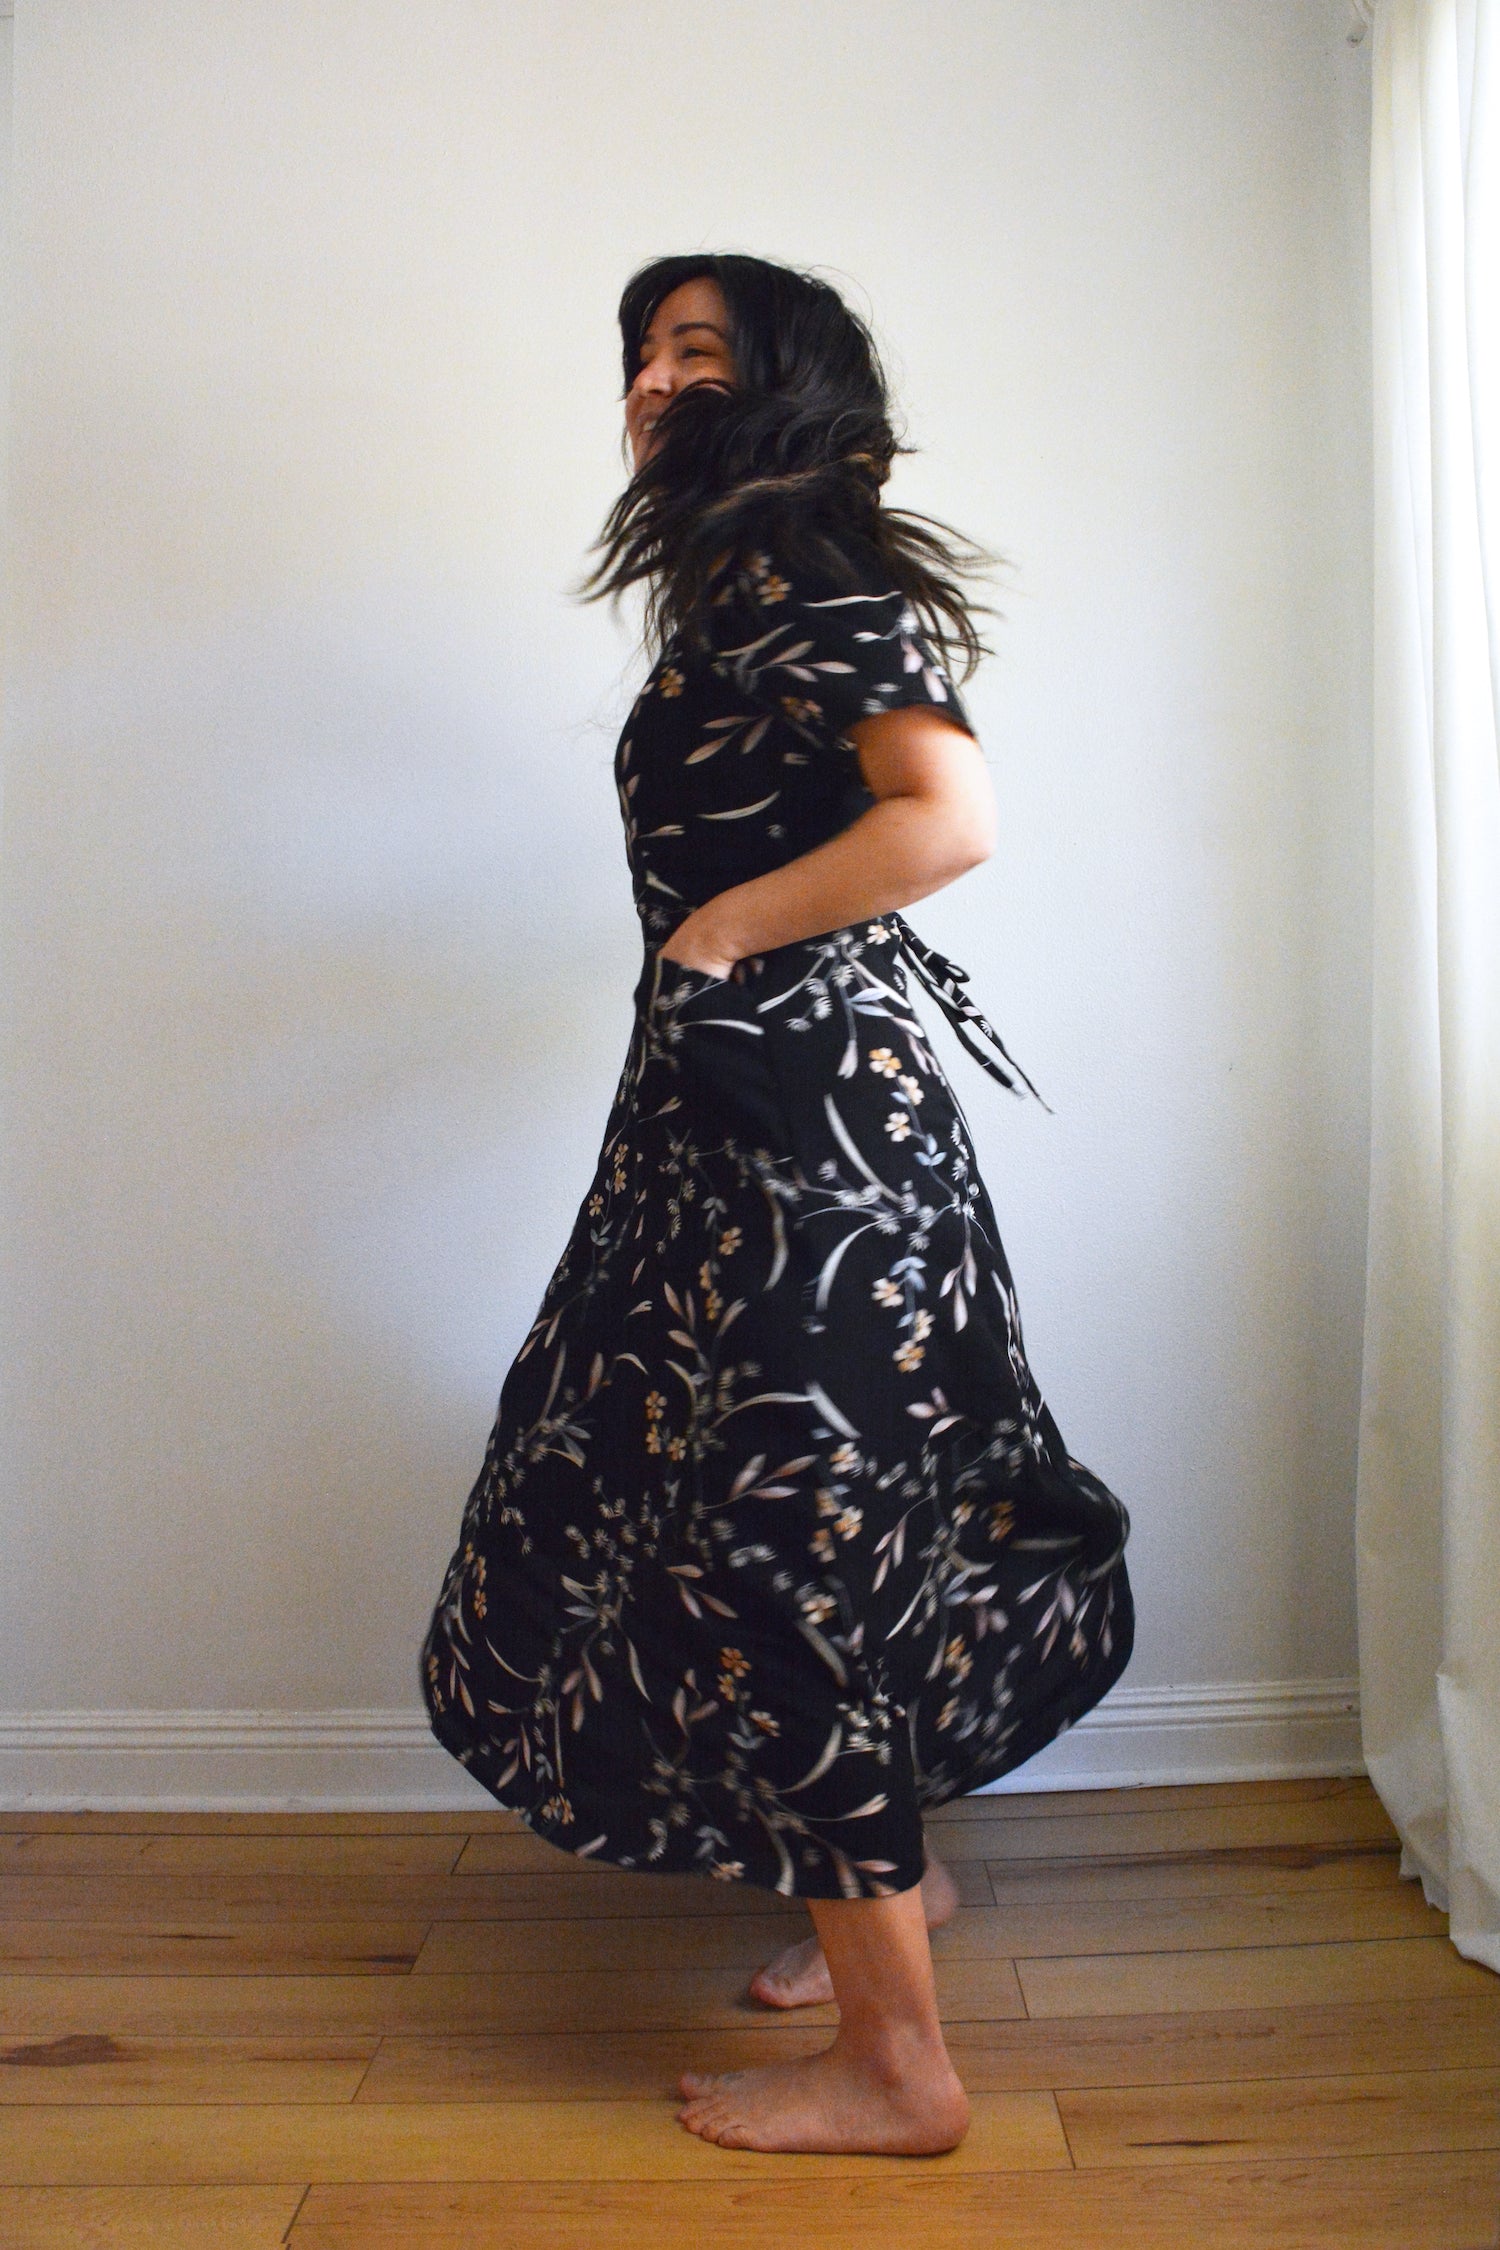
Listen. I know that sewing a bunch of buttons and buttonholes is not most people's idea of a good time and I have to say I agree. So I put together this hack for when you just aren't up for all that work! This Hughes Dress features zero buttons and an invisible zipper in the side seam. I love the way this dress turned out and will definitely be making more in the future!

I would say this is an intermediate level sewing project. Nothing in here is too hard but there are some fiddly bits. This hack involves sewing in an invisible zipper. If you have never inserted an invisible zipper before there are a ton of resources out there for you! Here is a link to a helpful video.
For this dress I used an 18" invisible zipper. You could use a longer one if that is what you have on hand.


Cutting Notes:
The Center Front (A) and Skirt Center Front (E) pieces will be modified for this hack. Draw a vertical line that runs through the center of the button marks and that will be the line you place on the fold of your fabric. You can actually just fold your pattern piece under instead of cutting into it so that it is preserved if you want to make another button up version in the future.
For Center Front (A) cut 1 on the fold of your main fabric and one on the fold of your lining fabric. For Skirt Center Front (E) cut 1 on the fold of your main fabric (no need for lining pieces or interfacing).

Sewing:
- Follow the instructions through step 5.
- Skip step 6.
- Follow step 7.
- Repeat the steps listed above with your bodice lining pieces.
- With right sides together (RST), pin your lining and main fabrics together around the neckline. Stitch. Clip the curves and press the seam allowance toward the lining. Understitch the seam allowance toward the lining.


- With RST, sew down one sideseam of main and lining fabric. Finish the raw edges of the side seam on the other sideseam for both lining and main fabric.

- Follow steps 18-20 to add the pocket to the skirt.
- Skip steps 21-22 and follow step 23 to attach Skirt Center Front (E) to Skirt Side Front (F).
- Follow step 24.
- With RST, attach your front skirt to back skirt along the same sideseam as you sewed up on your bodice. Finish the raw edges on the other side.


- Attach your skirt to main fabric bodice along the waist seam. Press seam allowance toward the bodice.

- Press the hem of your bodice lining under 3/8".

- Now we will attach the invisible zipper to the sideseam of the main fabric of our dress. I made a mistake here! I started my zipper at the top of my sideseam and didn't leave allowance so the sleeve could be sewn in (oops!). When I sewed my sleeve in later I just overlapped the top of my zipper a tiny bit. It is a little funky but its hidden in my armpit so the dress is still totally wearable. To avoid my fate, RST, sew 2" down the sideseam of the main fabric bodice starting at the armscye. Repeat with the lining pieces. The rest of the pictures do not show the bodice being joined for 2" above the zipper, sorry for the confusion! I did not realize my mistake until it was too late.
- Prep your invisible zipper for sewing and then pin it to your main fabric bodice at the bottom of the 2" seam you made. The right side of the zipper should be face down on the right side of your main fabric. Use a zipper foot to sew your zip in place backstitching at the top and bottom of your seam. Attach it to the other side of your dress. Double check that you do not have your zipper twisted here it is easy to accidentally attach the zipper facing the wrong way and you only find out when you go to zip it up!

- Once you have your zipper attached to the front and back of your main fabric, flip your bodice lining over so that it is right sides together with your main fabric and the sideseams are matched up. Pull the lining out a tiny bit past the seam allowance of your main fabric and then stitch it in place. The zipper should be sandwiched between the layers of the bodice and you should be stitching parallel and on the outside of the stitch you made to attach your invisible zipper. The bottom of your bodice lining should remain pressed upward when you sew. Repeat on other side.


- Pin your skirt together below your zipper and sew sideseam down to hem. With RST and starting about ½" up from where the zipper stitching ended, sew down to the hem of the sideseam. Be sure to backstitch at the beginning and end of this stitch. It will be a little tricky to get close to the zipper at the beginning of the stitch because of the bulk of the zipper, but get as close as possible.

- Follow the instructions to finish attaching the bodice lining to main bodice at the waistline.
- Prep and sew the sleeves following the instructions in the pattern. I opted to just sew the sleeves in with both the main fabric and lining sewn as one instead of creating a properly finished lined bodice on this project.
- Follow the instructions to hem the sleeves and skirt of the dress! That is it! You've got yourself a gorg new dress and you didn't have to sew a single button 🙂


Leave a comment
This site is protected by hCaptcha and the hCaptcha Privacy Policy and Terms of Service apply.