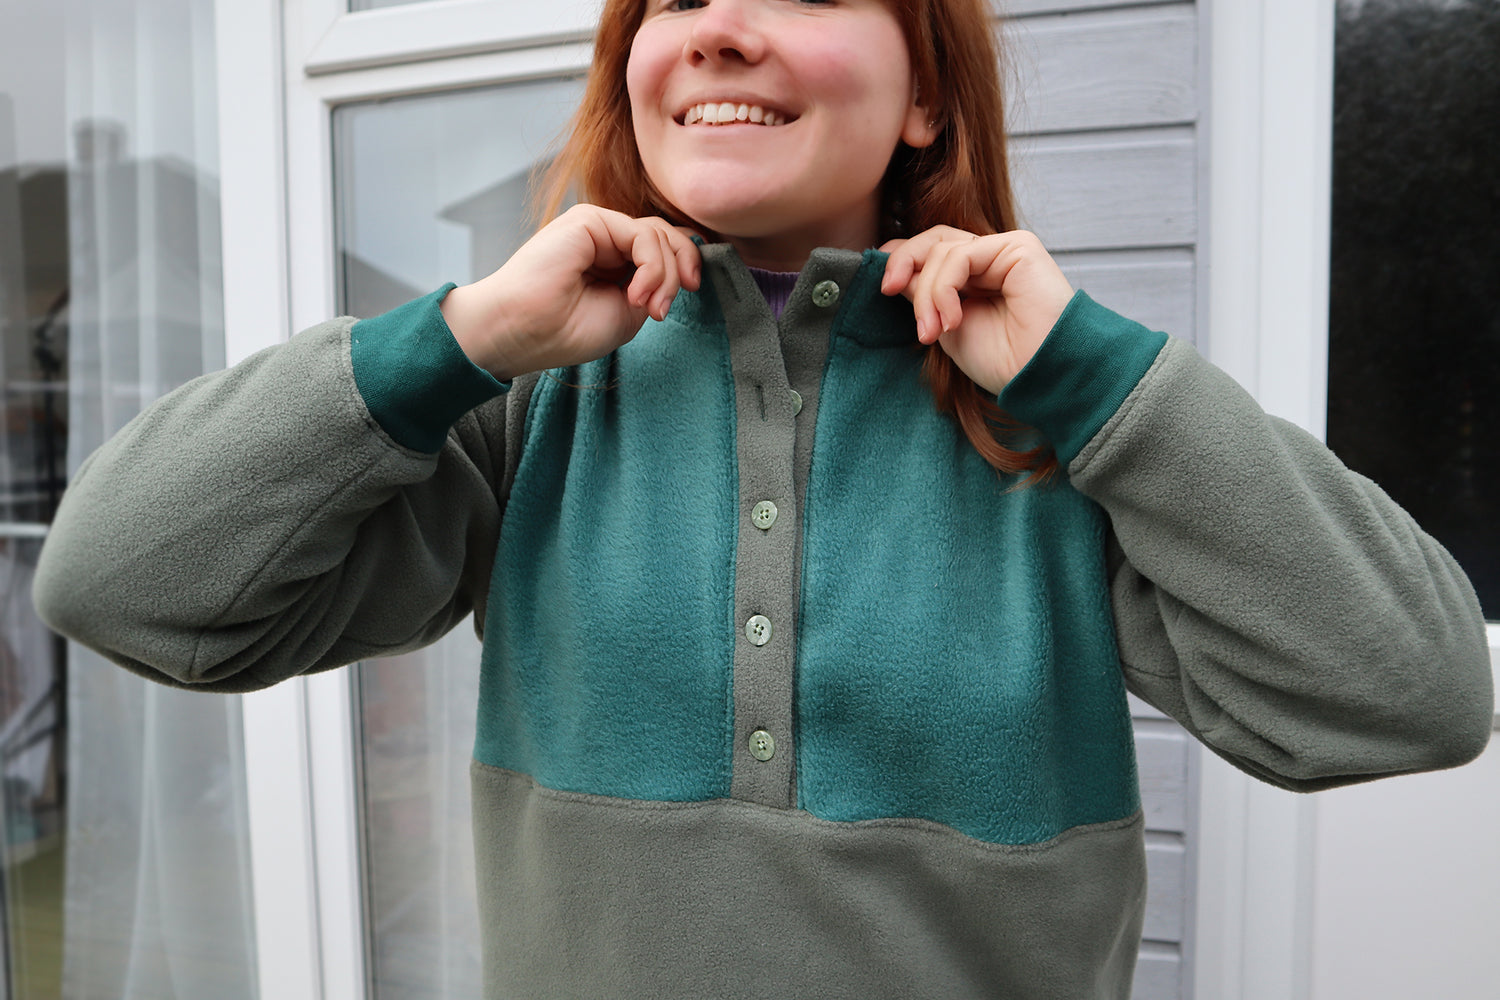
Welcome back to the Friday blog, in this post we are showing you how to create a button up fleece sweater using the Arlo Track Jacket pattern. It's a great hack for the colder months and the finished result is an easy throw-on garment you will want to reach for over and over again.
What You Need:

- Arlo Track Jacket sewing pattern
- If you're working with fleece then make sure to use the right sewing machine needle; a ball point or jersey needle is best.
- Iron-on interfacing for the button placket.
- 4-5 buttons.
- 2 Meters of fabric & 1 meter of ribbing. I still had loads extra because I got 1.5 of each colour!
- All your usual sewing equipment.
Pattern Hacks


1. Lay out your Upper Front A, with Pocket Pieces D & B, so that they fit together at the notch. Line the bottom curved edge with the top curved edge at the length line you wish to make it at. For reference I chose the medium length for this hack. If you want it shorter or longer then you simply cut those lines and then lay those pieces together. Tape those pieces together on the curved line.
2. Do the same with Upper Back E and Lower Back F, lay them together and then tape across the curved line.

3. For both the front and back pieces you need to draw a straight line across from side to the front. Do this from the side seam where the curved edges meet (see red hashed line on the diagram above).
4. Cut the pieces out and cut across your new squared off line. Trace your pieces if you prefer so you don't waste the pattern if you want to keep it intact.
5. Upper back E & Lower Back F become more square in appearance, both are cut 1 on the fold.
6. Upper front A is squared off, then remove 0.5 inches from the center front. You will cut 2 of this piece.
7. D&B pocket pieces squared off create a rectangle (similar to Lower Back F) that you cut on the fold. Add 1 cm to the side edge when cutting.
8. Then you will create a button placket piece. The length of this is measured based on the height of the center front of piece A, and half the height of Collar piece H (see diagram). For a size Large this was 32cm, but you will need to lay out your pieces as shown and then measure them, making sure to remove the 1cm seam allowance. The width is 2inch (for a 1 inch placket) plus 2cm for seam allowance. This worked out as 32cm X 7.2cm total. Cut 2 of these plus iron-on interfacing for both.

9. Last but not least, Instead of cutting 1 Hem ribbing on the fold, cut 2 and add 1cm to one side.
Steps:
Most of the steps are loosely following the Arlo pattern instructions, with a few variations on the order of them.
1. Prep your pieces in the same way, then skip to step 5.

2. Pin upper back and lower back together at the waist seam rst, then stitch.

3. Top stitch the seam allowance towards the upper top.


4. Skip ahead to step 9, attach upper back shoulders to upper front A pieces at the shoulder seam, repeat on both sides. Top stitch the seam allowance towards the front pieces A.

5. Follow steps 14 & 15 in the pattern instructions to add the collar piece to the neckline.

6. Iron your interfacing on the wrong side of your plackets. Fold your placket right sides together and stitch 1/4 inch on one of the small edges, repeat on both pieces.

7. Turn the placket right sides out and pin the placket against the center front seam, with the the new stitched edge at the top, starting at the center of neck collar down to the bottom of center front A.
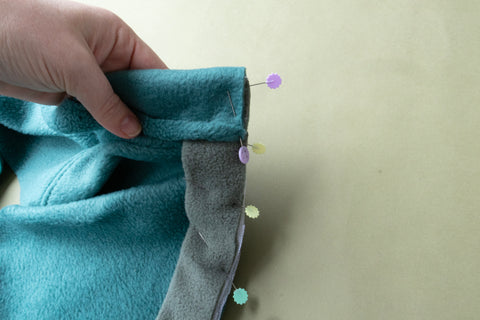
8. Fold over the collar, so that the ironed under edge is pinned down. Stitch all the way down, repeat on both sides.

9. Iron the seam towards the bodice and top stitch it down, repeat on both sides.

10. Follow step 21 in the instructions by pinning down the rest of the collar and top stitch this down all the way across.

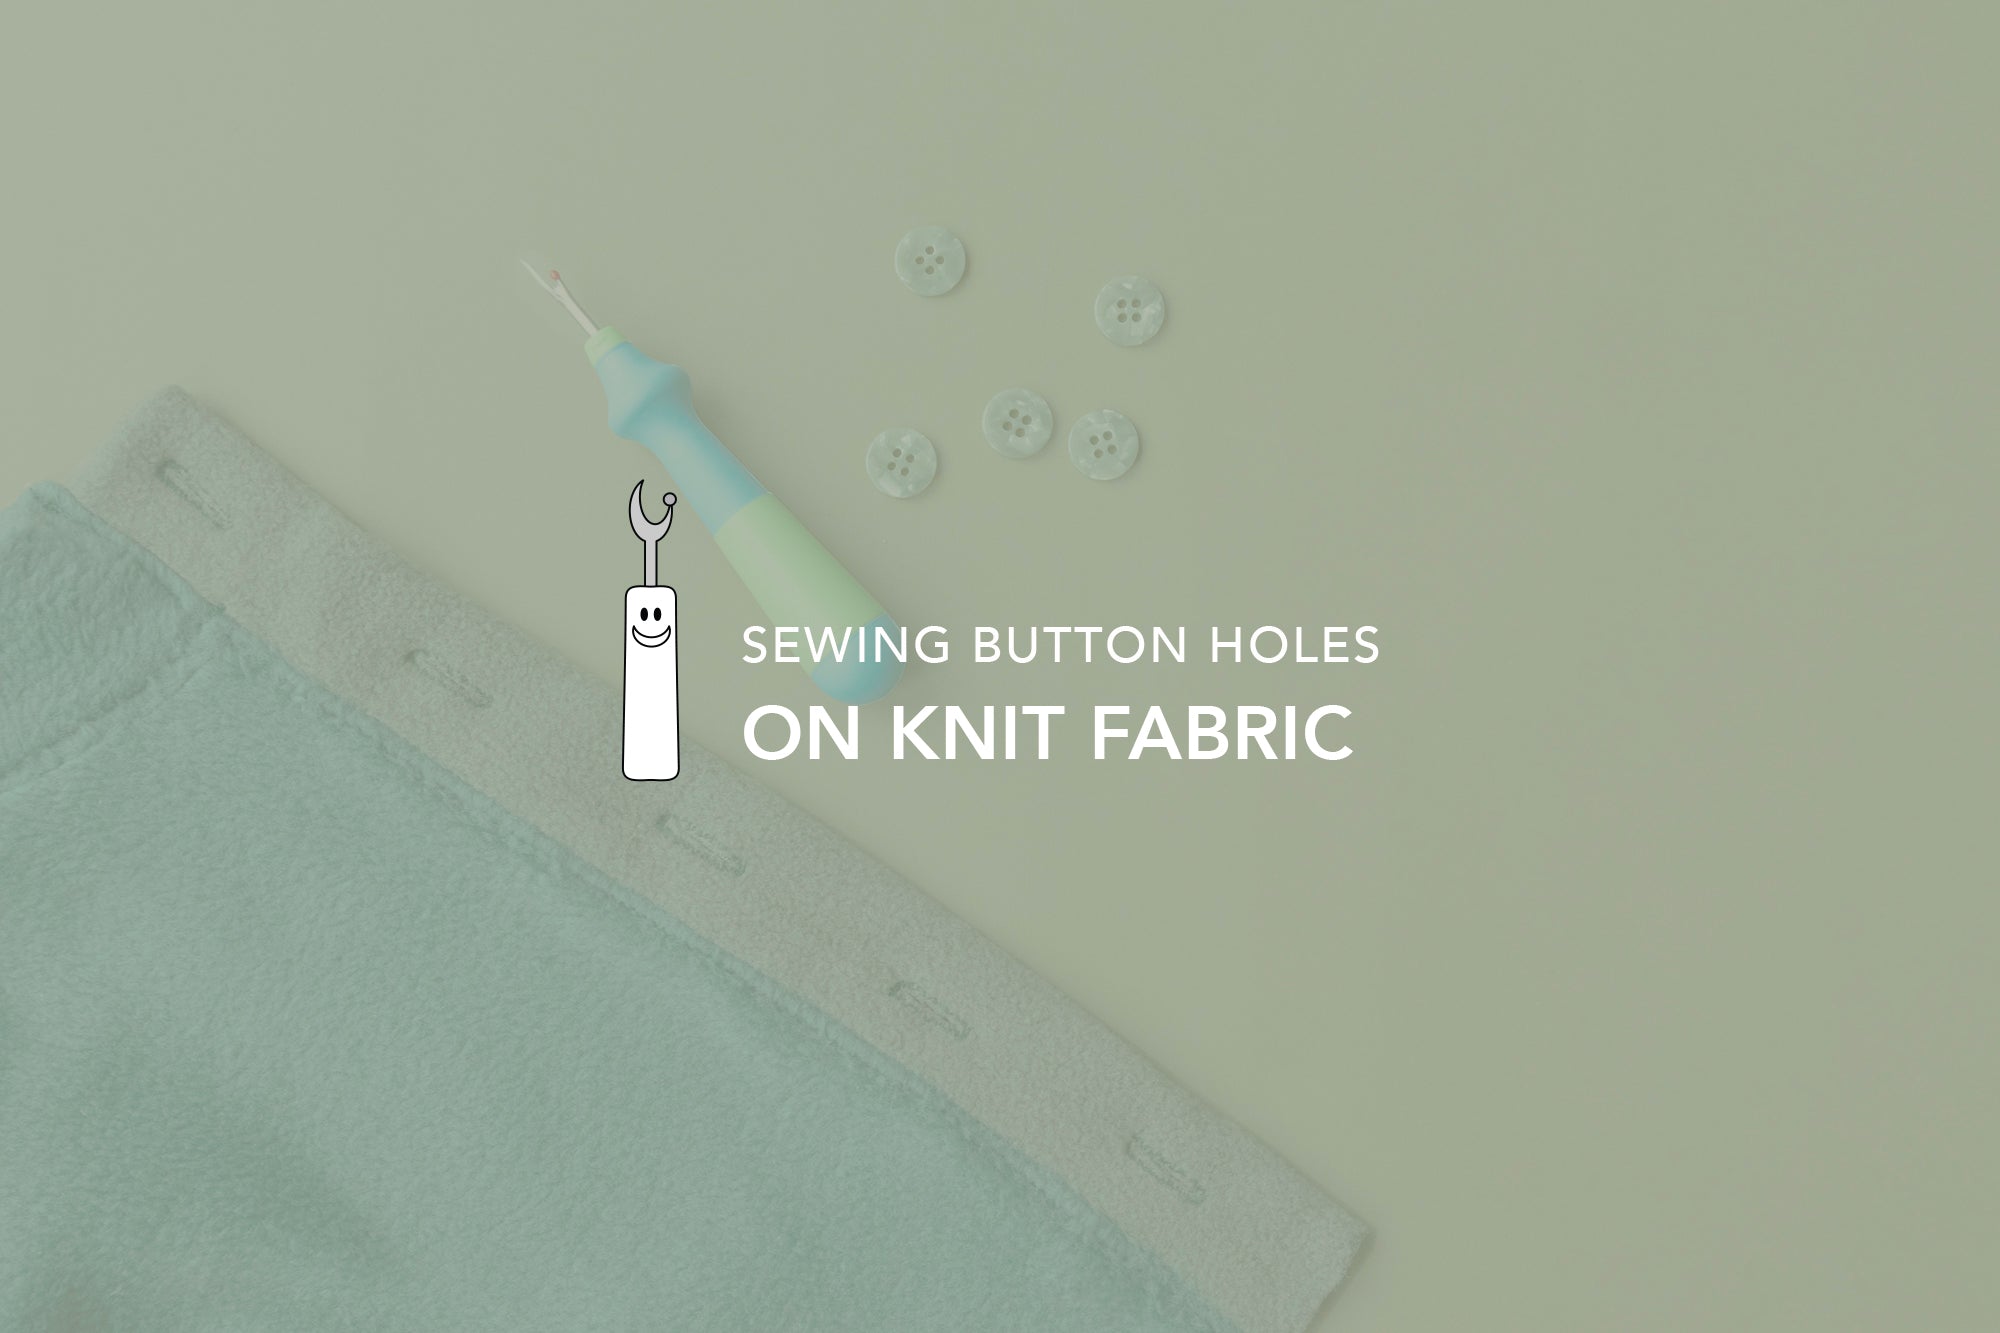
11. Create button holes on the placket (on the side you want them to be), I went with 5 button holes for 15mm buttons. You can shop the Willow buttons here.

12. Overlap your placket pieces and then pin on your lower front rectangle, stitch in place and then sew the seam allowance towards the bottom.

13. Now you can go ahead and attach the sleeves, sleeve plackets and hem ribbing following the instructions.


& that's it! Enjoy your new sweatshirt!
Hints & Tips:

- Use a button hole ruler to measure out where you want your button holes.
- Check your sewing machine manual to see if it has a button hole feature for stretch fabrics, as this will give them a neater finish and work better with your fabrics.


Here is the finished sweater! If you make it make sure to tag us on social media @fridaypatterncompany & hashtag #ArloTrackJacket


Leave a comment
This site is protected by hCaptcha and the hCaptcha Privacy Policy and Terms of Service apply.